In this post we will walk through the steps of creating a VM on the vSphere web-client.
Step 1: Login to the vSphere web-client and browse to the “Host” and “Clusters” view a below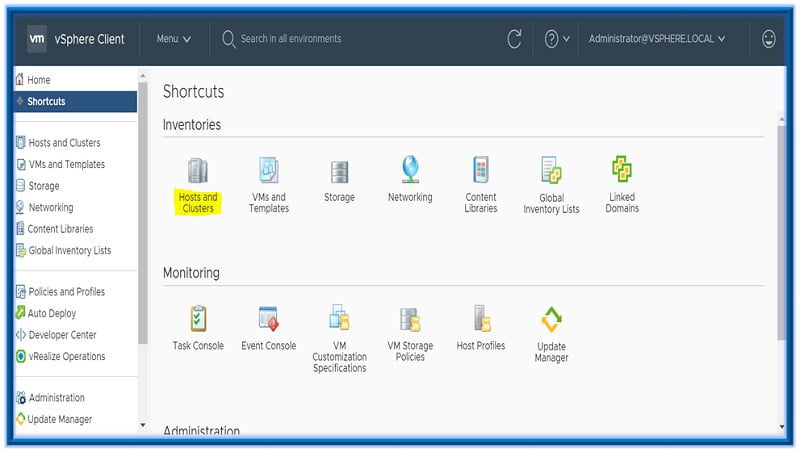
Once you click on host and clusters you will see all the hosts that are being managed from vSphere Web Client.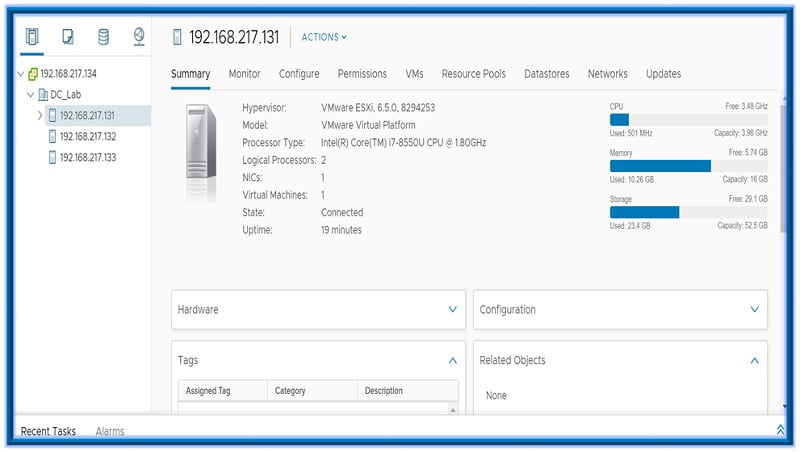
Step 2: Right click on the host on which you want to deploy a new VM and select New Virtual Machine.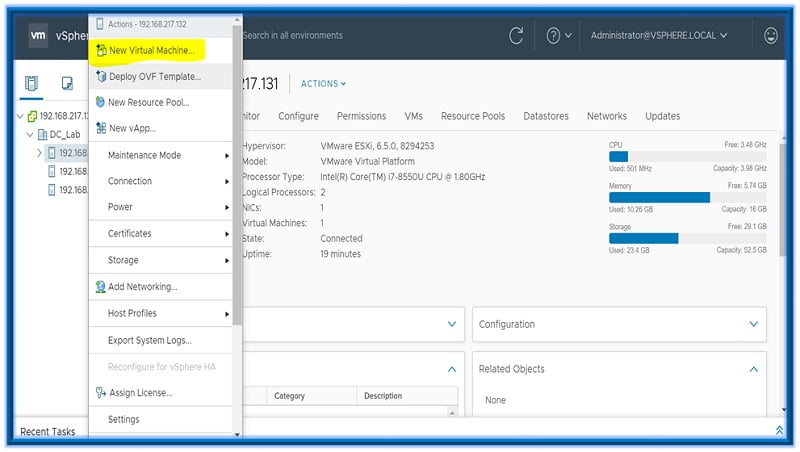
Step 3: On the next screen select an option for the creation type from the following options-
Select ‘create a new virtual machine’ and click Next.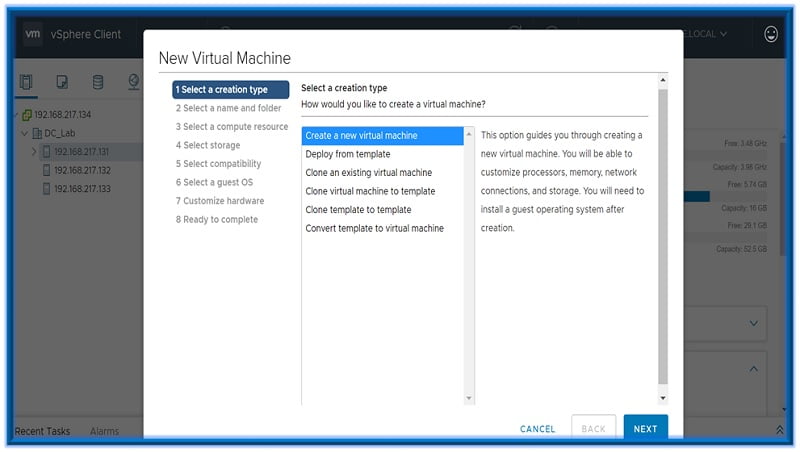
Step 4: Select a name for the VM and a location for the VM.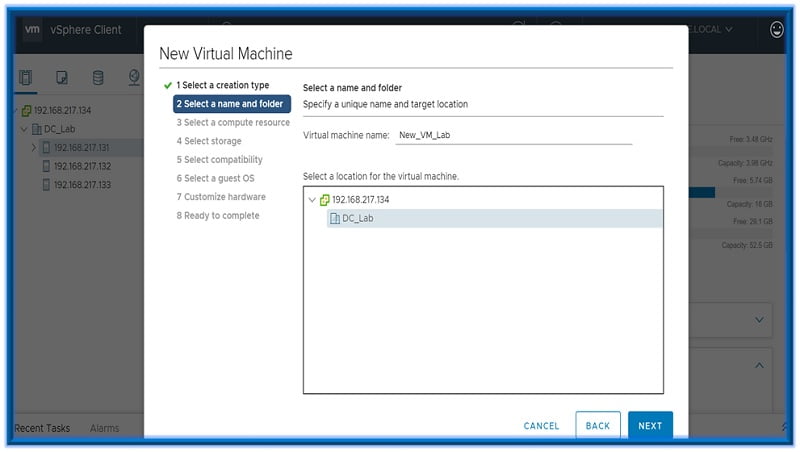
Step 5: Select the ESXi host on which the virtual machine is going to run on and click Next.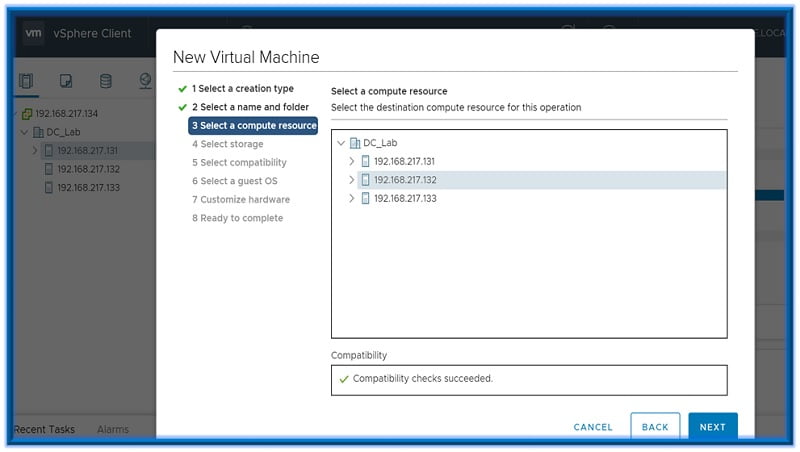
Step 6: Select the data-store on which the virtual machine files are going to reside on and click Next.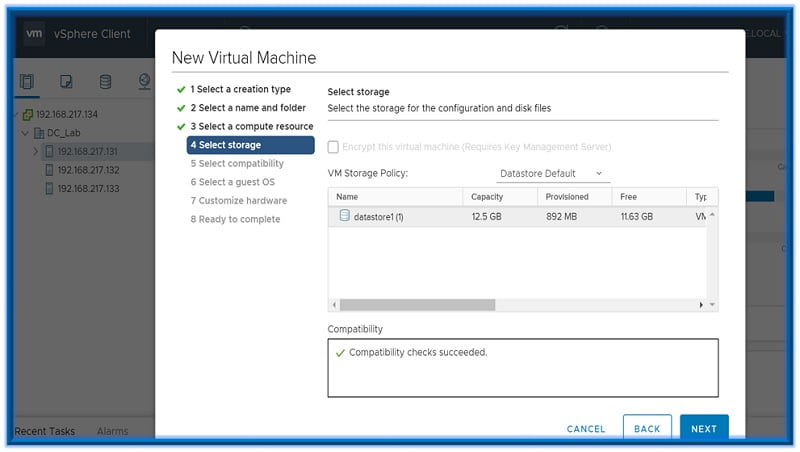
Step 7: Select the ESXi version compatible with this VM. We are using ESXi 6.5, hence we selected 6.5 and later. If you have any previous version of ESXi host you may select that one.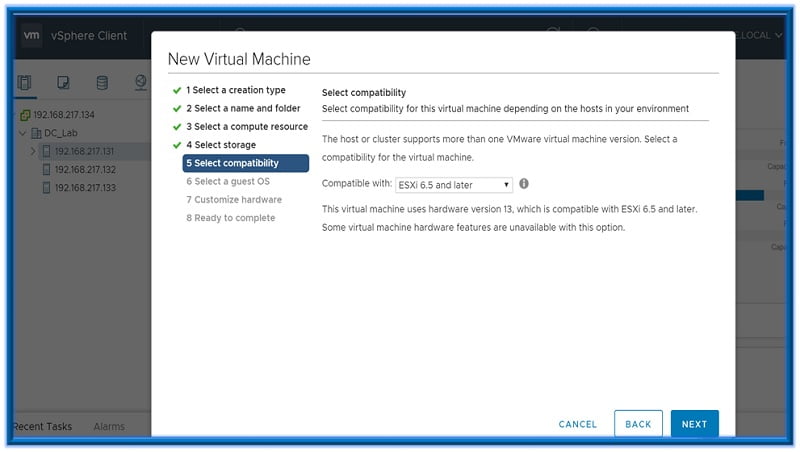
Step 8: Select the operating system to run on the newly created VM. We aren’t installing A OS here. We are simply telling the VM that this would be the OS on this VM.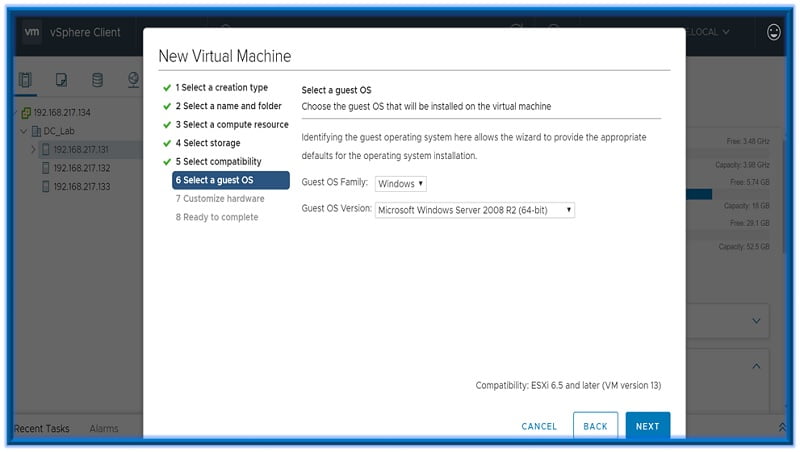 Step 9: You may configure the hardware settings at customize hardware.
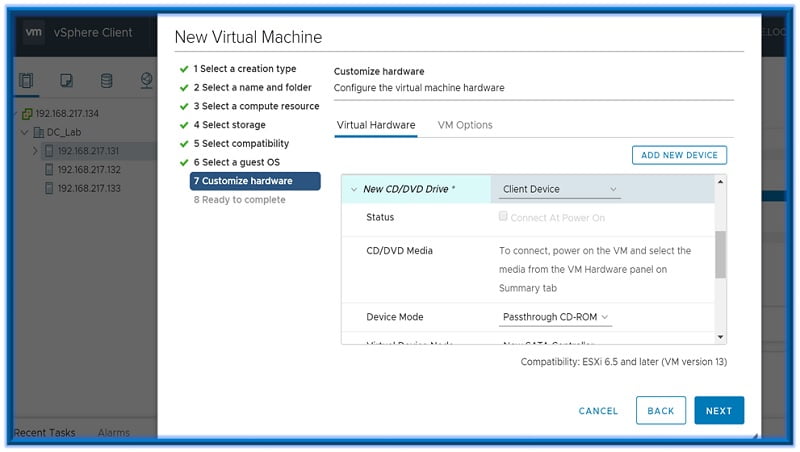
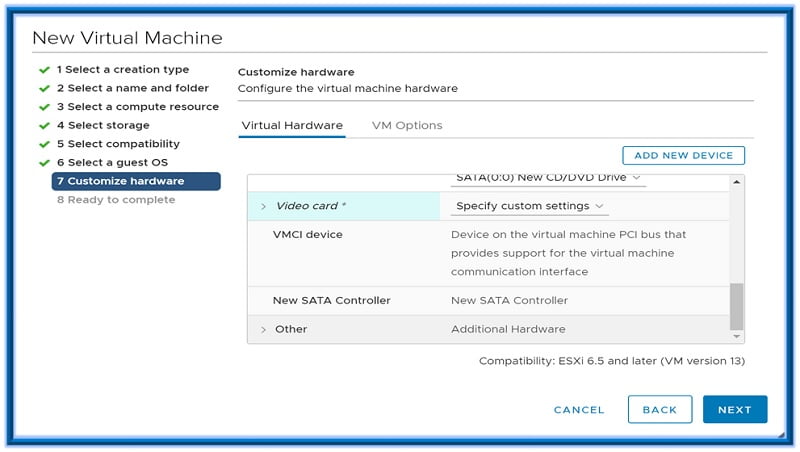
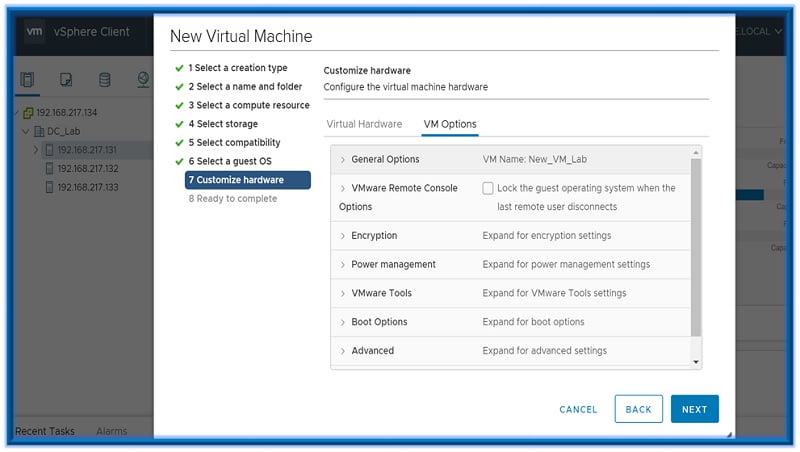
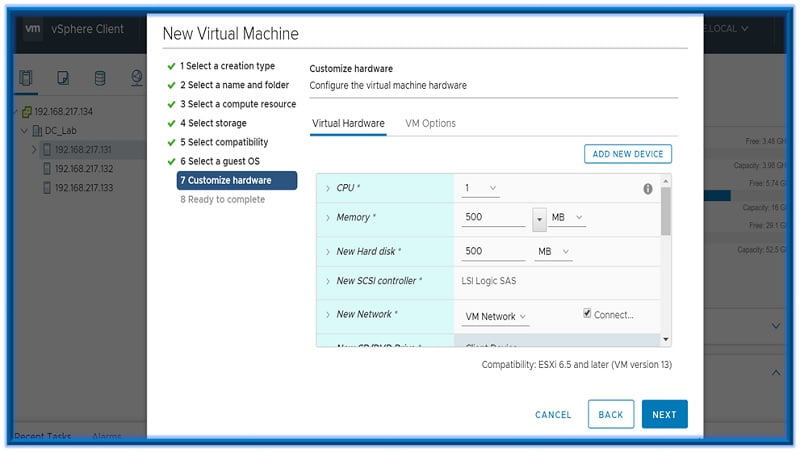
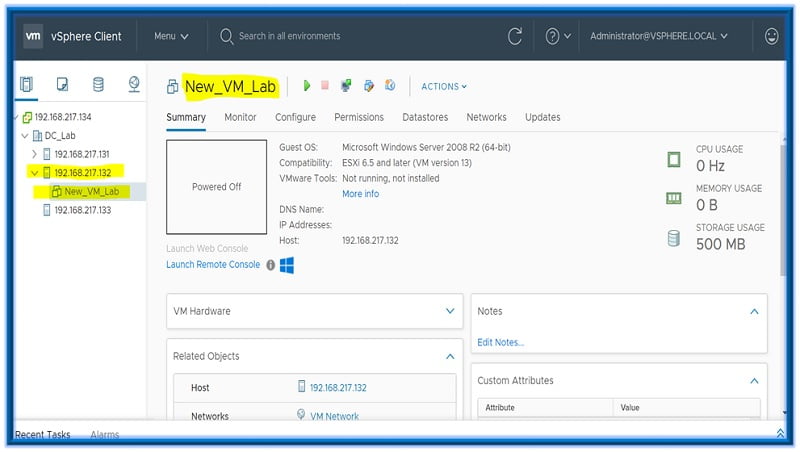
Step 10: Verify the setting and click Finish.
Now you will see a new VM created on the intended host as below, you may power it on and install the Guest OS on it now.