Table of Contents
Cloud-Front Setup with S3 bucket
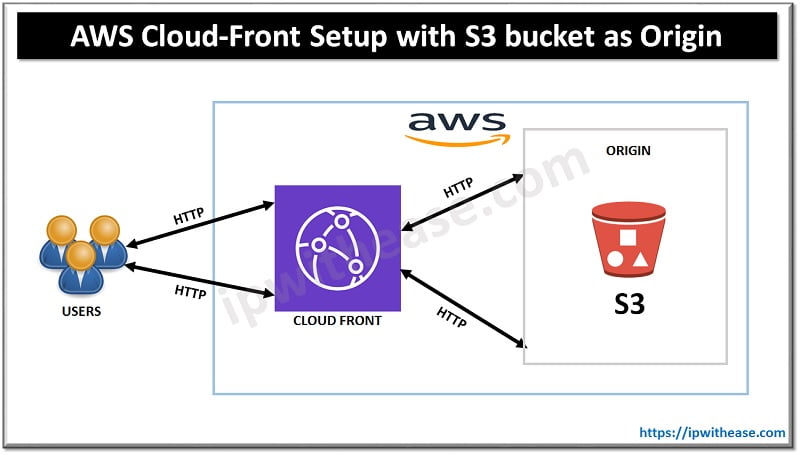
Cloud Front is a service available in Global region and isn’t confined to any specific region. In this post we will use a S3 bucket as an Origin and then will create a Cloud Front web distribution to serve any HTTP requests directed to S3 bucket. To learn about how cloud-front works refer to the link here.
Step1
Create a S3 bucket and upload an object to it as shown below:
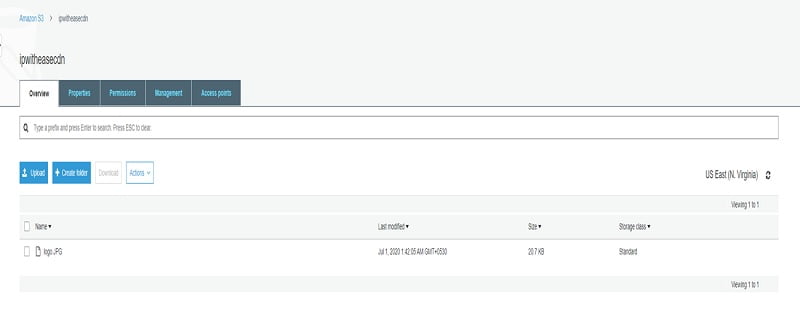
Make sure you allow the public access setting on the AWS S3 bucket and its object, so you can access it from internet.
Step2
Browse to the AWS management Console and Click on CloudFront service, Click Create Distribution.
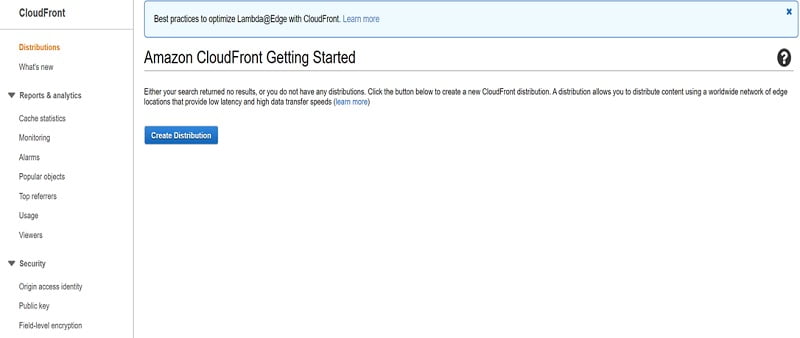
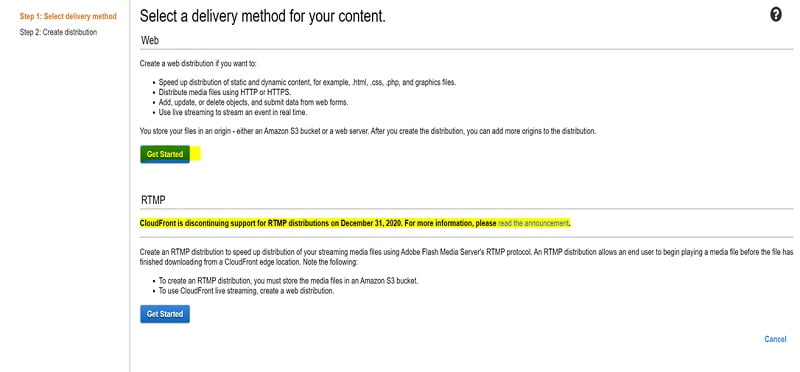
Once you Click on create Distribution you will get the option to create a Web Distribution or a RTMP Distribution (Used for Media Streaming Apps). In our example we will configure a Web distribution.
Step3
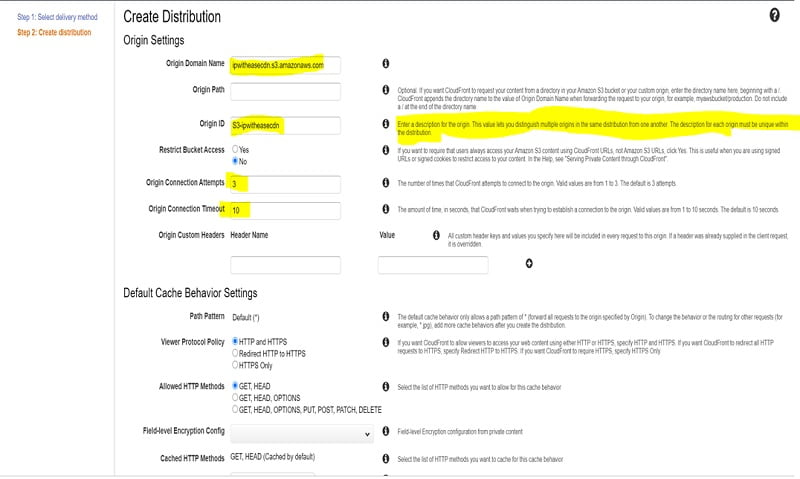
Click on ‘Get Started’ to create a web distribution and then select your Origin domain name from the drop down of available domain name as below:
Additionally you get an auto-generated Origin ID or you may define a unique one in this distribution yourself to distinguish this Origin from others in this distribution. There are few other settings you may want to configure based on your use case and requirement.
Tip: Read & understand the description of each option before changing the default values by clicking on the small icon in front of each configurable option.
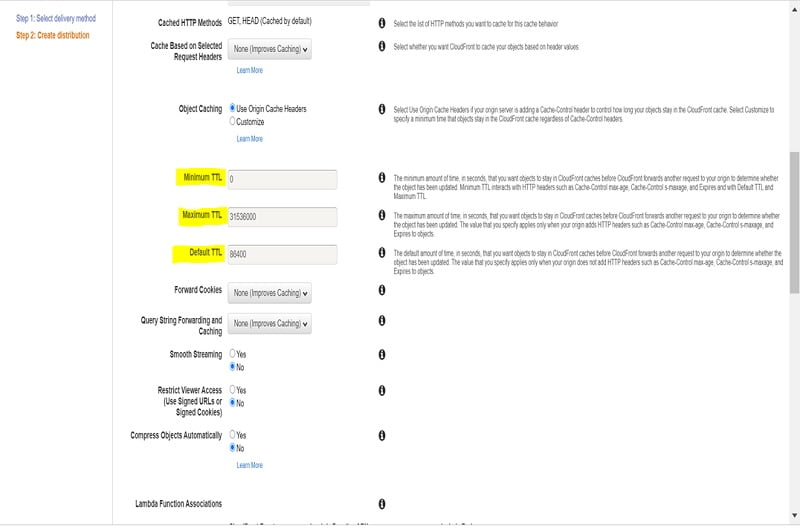
You may change the TTL values of the cached objects in this distribution here
Few other configurable options here in the distribution can be seen at below screenshot, you can put a WAF in front of your Cloud Front Distribution to control the access.
We leave the values to their defaults in this example and then click on create distribution.
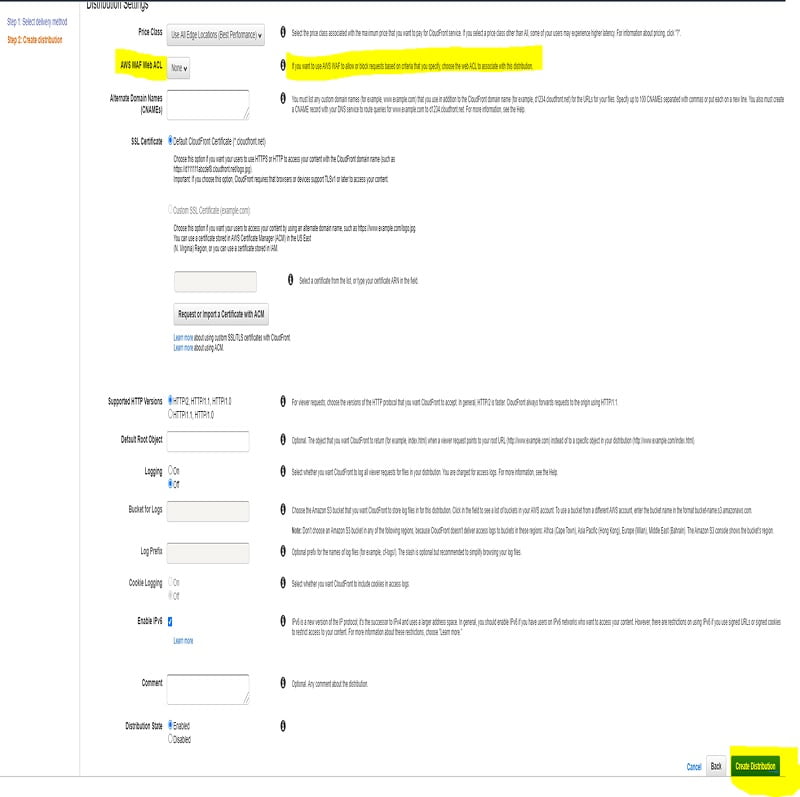
The cloud front distribution may take time from 15 minutes to 1 hr. to get created, hence let’s be patient here.
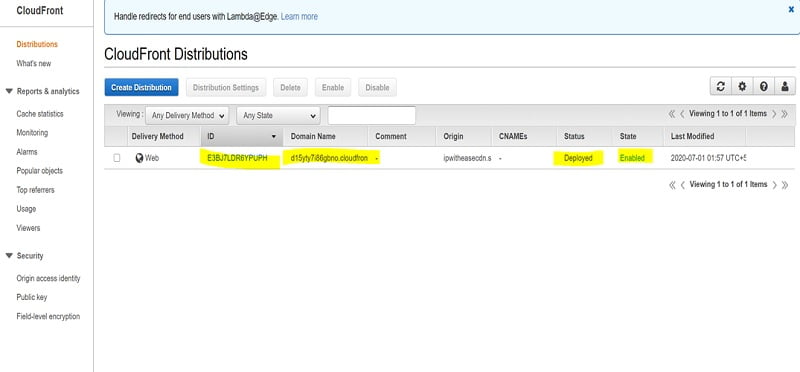
Once the Cloud Front is created successfully, you may see the Cloud Front status deployed & enabled as below:
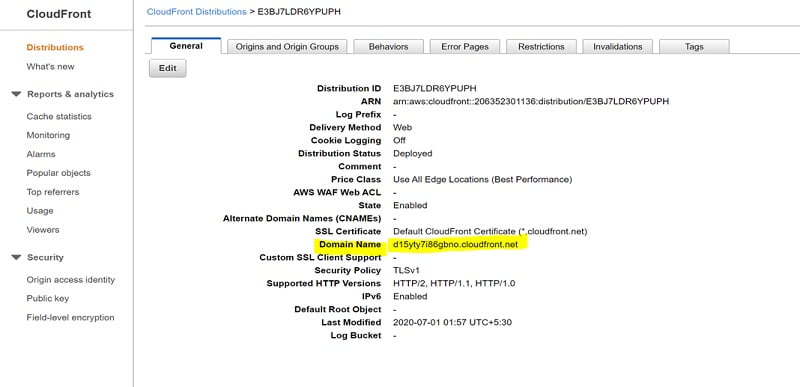
Once you click on the Distribution, you can view the complete settings of your distribution. Important thing here is the Domain Name which you are going to use to connect to Cloud Front Distribution.
Step 4
Next, you need to go to the S3 bucket you created and find the object name. In our example the object name is logo.JPG.
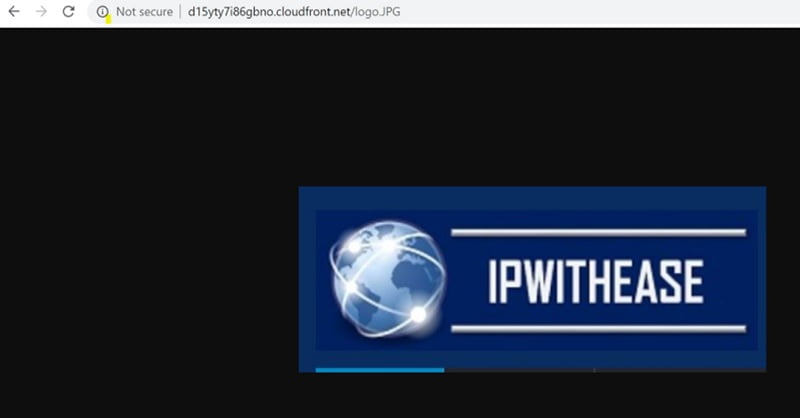
Now copy the domain name from Cloud Front in a browser tab with forward slash and then the object name as below:
d15yty7i86gbno.cloudfront.net/logo.JPG <This is case sensitive>
You shall be able to browse to the Object using the Cloud Front edge location at a much higher speed.
You can also create Object Invalidations under distribution to remove the object from the cache.
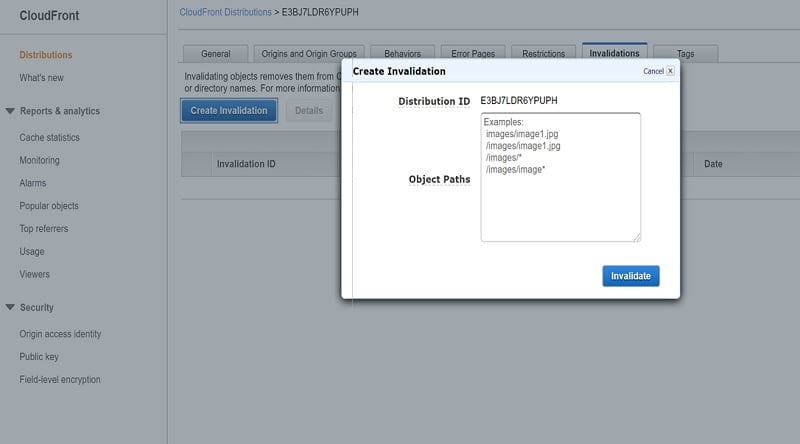
Please note creating Cloud Front Distribution isn’t covered under free tier, hence please remember to delete the Distribution after you are done testing.
Step 5
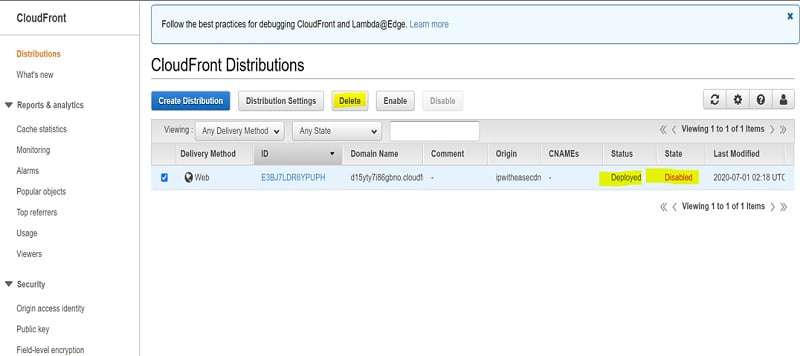
In order to delete a Cloud Front Distribution, you will first need to disable it and then Click on Delete.
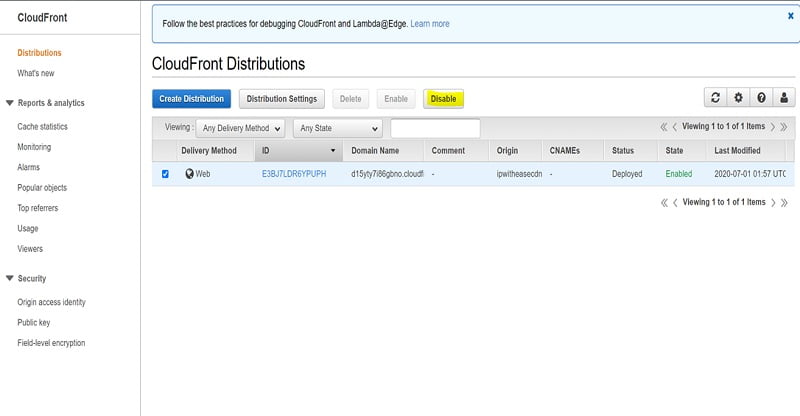
The disable also may take around 15 minutes and once state is disabled you Click on Delete.
ABOUT THE AUTHOR

You can learn more about her on her linkedin profile – Rashmi Bhardwaj


