Google ADs
Table of Contents
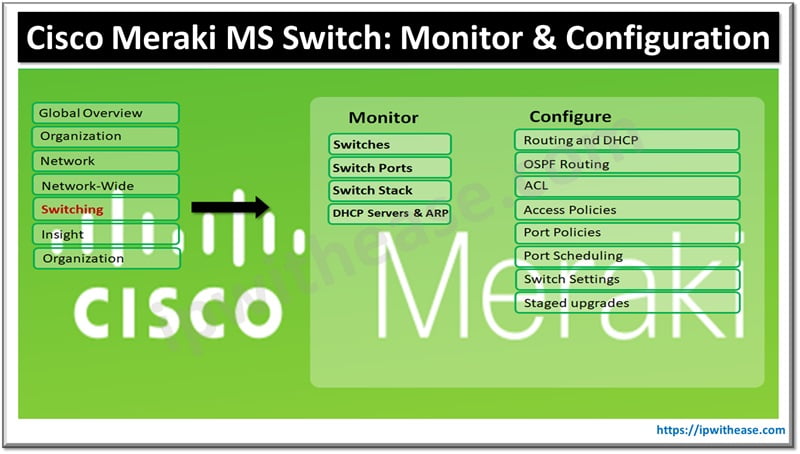
Cisco Meraki MS switches offer a range of monitoring and configuration features through their cloud-based management platform. Here’s a detailed guide on how to monitor and configure these switches:

Monitoring Cisco Meraki MS Switches
- Dashboard Overview:
- Login: Access the Meraki Dashboard by logging in at dashboard.meraki.com.
- Network Selection: Choose the network containing your switches.
- Switch Status:
- Switch List: Navigate to Switch > Switches to view all the switches in your network.
- Status Indicators: Check the status indicators (Online, Offline, Alerting) to quickly assess the health of your switches.
- Port Status:
- Port Overview: Select a switch to view its ports. Navigate to Switch > Monitor > Switch ports.
- Details: Click on individual ports to view detailed information, including usage, errors, and connected devices.
- Traffic Analytics:
- Usage Reports: Go to Switch > Monitor > Traffic analytics to see detailed traffic reports, including top applications and clients.
- Per-Port Traffic: View traffic usage per port to identify heavy traffic or potential issues.
- Alerts and Notifications:
- Alert Settings: Set up alerts under Network-wide > Configure > Alerts to receive notifications for specific events, such as port down or high traffic.
Configuring Cisco Meraki MS Switches
- Basic Configuration:
- Switch Settings: Navigate to Switch > Configure > Switch settings to configure global settings, such as VLANs, STP, and multicast settings.
- Port Configuration:
- Port Management: Select Switch > Configure > Switch ports to configure individual ports.
- Settings:
- Port Type: Choose between Access, Trunk, or Aggregation.
- VLAN Assignment: Assign VLANs to access ports.
- Allowed VLANs: Specify allowed VLANs on trunk ports.
- Speed and Duplex: Configure port speed and duplex settings.
- PoE: Enable or disable Power over Ethernet (PoE) on supported ports.
- VLAN Configuration:
- VLAN Setup: Navigate to Switch > Configure > Routing & DHCP to set up VLANs, including VLAN ID, name, and interface IP.
- DHCP Settings: Configure DHCP settings for each VLAN if required.
- Access Policies:
- Access Control: Go to Switch > Configure > Access policies to set up MAC-based access control (MAC whitelists) or 802.1X authentication.
- Quality of Service (QoS):
- QoS Rules: Configure QoS settings under Switch > Configure > QoS to prioritize traffic for certain applications or devices.
- Bandwidth Limits: Set bandwidth limits on a per-port or per-VLAN basis.
- Security:
- Storm Control: Enable storm control settings to prevent broadcast, multicast, or unicast storms.
- BPDU Guard: Enable BPDU guard on edge ports to protect against rogue switches.
- Firmware Management:
- Firmware Updates: Navigate to Organization > Firmware upgrades to schedule and manage firmware updates for your switches.
Best Practices for Meraki MS Switch Configuration
- Documentation: Keep detailed documentation of your network topology and configuration changes.
- Regular Backups: Periodically back up your configuration settings.
- Monitoring: Continuously monitor switch performance and traffic to identify and resolve issues promptly.
- Security: Implement strong security policies, including access controls and regular firmware updates.
- QoS: Configure QoS to ensure critical applications receive the necessary bandwidth.
By leveraging the Meraki Dashboard, administrators can efficiently manage and monitor Cisco Meraki MS switches, ensuring optimal network performance and security.
Continue Reading:
MX Deployment Guide: Cisco Meraki
Google ADs
16 Benefits of Cisco Meraki as a Cloud-Managed Networking Solution
ABOUT THE AUTHOR

Founder of AAR TECHNOSOLUTIONS, Rashmi is an evangelist for IT and technology. With more than 12 years in the IT ecosystem, she has been supporting multi domain functions across IT & consultancy services, in addition to Technical content making.
You can learn more about her on her linkedin profile – Rashmi Bhardwaj


