Table of Contents
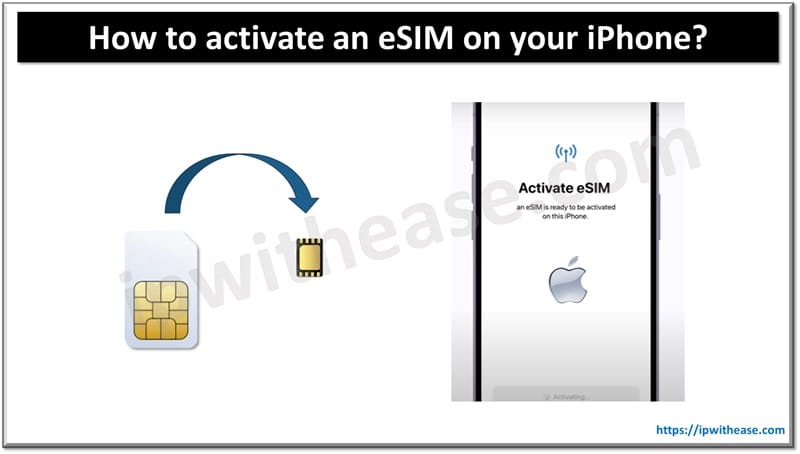
eSIM technology is revolutionizing mobile connectivity by offering flexibility, security, and environmental benefits. As its adoption grows, eSIM is shaping the future of how we connect to networks worldwide. In this blog, we will discuss in detail the steps to activate an iPhone eSIM.

What is eSIM Technology?
eSIM (Embedded Subscriber Identity Module) is a digital SIM integrated directly into a device. Unlike traditional physical SIM cards, an eSIM is built into the hardware and can be programmed to connect to a mobile network. Users can switch carriers, activate a new plan, or manage multiple profiles without swapping a physical SIM card.
How eSIM Works
- Provisioning: Mobile carriers send an activation profile over the air (OTA) to the eSIM.
- Storage: Multiple carrier profiles can be stored, though only one can be active at a time.
- Remote Management: Users can switch carriers or plans via device settings without a physical change.
Benefits of eSIM Technology
1. Enhanced Convenience: No physical SIM required, hence activation and switching between carriers are seamless. Frees up physical space in devices, enabling sleeker designs or larger batteries.
2. Multiple Profiles on One Device: Allows storage of multiple SIM profiles, making it ideal for:
- Dual Numbers: Separate work and personal numbers on the same phone.
- Travel: Easily activate local carrier plans in different countries.
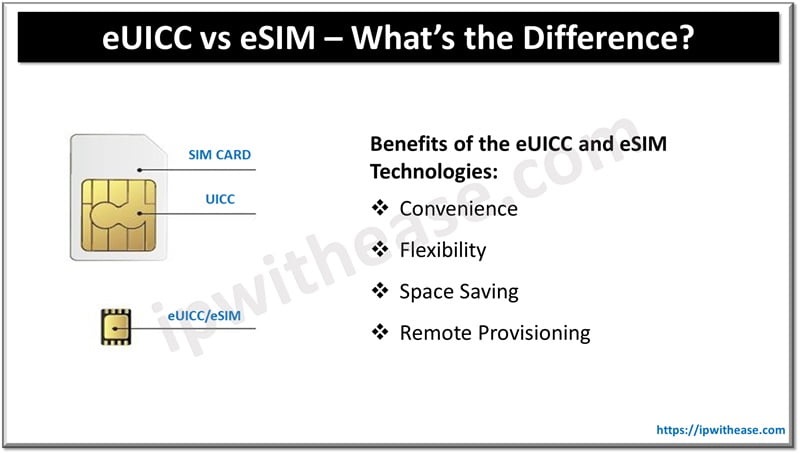
Related: eUICC vs eSIM – What’s the Difference?
3. Environmentally Friendly: Eliminates the need for manufacturing and distributing physical SIM cards, reducing plastic waste.
4. Improved Security: Harder to steal or tamper with compared to physical SIM cards. Prevents SIM-swapping attacks since the eSIM is embedded and requires authentication.
5. Faster Activation: Activation is digital and can be completed instantly, reducing wait times for SIM delivery or store visits.
6. Ideal for IoT Devices: Widely used in Internet of Things (IoT) applications such as smartwatches, fitness trackers, and connected cars. Enables seamless connectivity without the need for a physical slot.
7. Robust Durability: No physical SIM slot means fewer points of failure, improving device durability against dust and water.
Steps to activate an eSIM on your iPhone
Activating an eSIM on your iPhone is straightforward if your device supports eSIM and your carrier provides eSIM service. Here’s a step-by-step guide:
Step 1: Ensure Compatibility
- Check your iPhone Model: eSIM is supported on iPhone XS, XR, and later models.
- Carrier Support: Confirm that your carrier supports eSIM activation.
Step 2: Obtain eSIM Details
- QR Code: Your carrier may provide a QR code for activation.
- Manual Entry: Alternatively, they may give you an eSIM activation code or details.
Step 3: Start Activation Process
- Go to Settings: Open the Settings app.
- Access Cellular/Mobile Data: Tap Cellular (or Mobile Data).
- Add eSIM: Tap Add Cellular Plan.
Step 4: Activate eSIM
- Using QR Code:
- Scan the QR code provided by your carrier.
- Follow the on-screen instructions.
- Manual Entry:
- Tap Enter Details Manually if prompted.
- Input the information provided by your carrier.
Step 5: Label Your Plan (Optional)
- After activation, you can label your eSIM (e.g., “Work” or “Personal”) for easy identification.
Step 6: Set Default Lines (Optional)
- If you have both a physical SIM and an eSIM, choose:
- Default for Cellular Data: Select which line to use for mobile data.
- Default for Voice and SMS: Select the line for calls and text messages.
Step 7: Test the Connection
- Verify that your eSIM plan is active by making a call or accessing the internet.
Troubleshooting Tips
- Restart Your iPhone: If the eSIM doesn’t activate immediately.
- Carrier Support: Contact your carrier for help if you encounter issues.
- Update iOS: Ensure your iPhone is running the latest iOS version.
Physical SIM vs eSIM on iPhone: Comparison
As we have learned the steps to activate eSIM on an iPhone, lets understand the differences between a physical SIM and eSIM.
| Feature | Physical SIM | eSIM |
| Definition | A removable nano-SIM card inserted in the device. | A digital SIM embedded in the device’s hardware. |
| Availability | Supported by all iPhones. | Available on iPhone XS, XR, and later models. |
| Activation | Requires a physical SIM card from the carrier. | Activated digitally via QR code or carrier settings. |
| Switching Carriers | Requires physically swapping SIM cards. | Can switch carriers or plans instantly through settings. |
| Dual SIM Capability | Physical SIM + eSIM for supported models. | Dual eSIMs supported on iPhone 14 and later (no physical SIM in US models). |
| Space Efficiency | Takes up space in the device for the SIM tray. | Saves space, allowing for sleeker designs or larger batteries. |
| Ease of Use | Requires handling and inserting/removing the SIM card. | Completely digital and managed via the device settings. |
| Durability | Vulnerable to damage, loss, or theft. | Embedded in the device, making it more secure and durable. |
| Travel Convenience | Requires purchasing and swapping local SIM cards. | Easily add local plans for travel without needing physical cards. |
| Environmental Impact | Produces plastic waste from SIM cards and packaging. | Eco-friendly as it eliminates physical cards. |
| Security | Prone to SIM-swapping theft if stolen. | Harder to tamper with, providing better security. |
| Use in IoT Devices | Rarely used due to size and handling requirements. | Widely used for wearables, tablets, and IoT devices. |
| Cost | May incur fees for new/replacement cards. | Often free or included with carrier plans. |
ABOUT THE AUTHOR
IPwithease is aimed at sharing knowledge across varied domains like Network, Security, Virtualization, Software, Wireless, etc.


