Table of Contents
The Cisco Meraki Umbrella SD-WAN Connector integrates Cisco Umbrella with Meraki MX Security & SD-WAN appliances to provide a secure, cloud-based network. This integration helps route internet-bound traffic securely through Umbrella’s secure web gateway and DNS-layer protection.
Prerequisites
VPN Topology: Either a full-tunnel or split-tunnel configuration depending on your organization’s needs. This guide outlines the steps for deploying the Meraki Umbrella SD-WAN Connector.
- Cisco Umbrella Subscription: Ensure you have an active Umbrella subscription.
- Cisco Meraki Dashboard Access: You must have administrative access to the Meraki Dashboard.
- Meraki MX Device: Make sure you are using an MX device (MX67 and above) with an active SD-WAN license.
- Umbrella API Key: You’ll need the API key for Umbrella to connect it with Meraki.
Cisco Meraki Umbrella SD-WAN Connector Deploymen
Step 1: Configure Cisco Umbrella
Before integrating with Meraki, you need to set up the necessary components in the Umbrella dashboard.
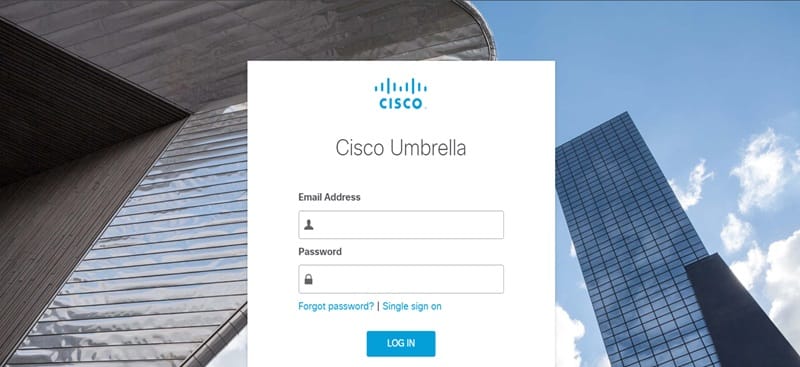
1.1. Log in to Cisco Umbrella Dashboard
- Access the Cisco Umbrella Dashboard (https://dashboard.umbrella.com).
1.2. Create an API Key
- Navigate to Admin > API Keys.
- Click on Create by Organization.
- Save the API key and secret for use in the Meraki Dashboard.
1.3. Create DNS Policies
- Go to Policies > DNS Policies.
- Create policies that define which traffic is allowed and denied, based on your organization’s security requirements.
1.4. Enable IP Layer Enforcement (Optional)
- If you’re planning to use Umbrella SIG (Secure Internet Gateway), enable IP Layer Enforcement by navigating to Deployments > Configuration > Internal Networks and define your network.
Step 2: Configure Cisco Meraki MX for Umbrella Integration
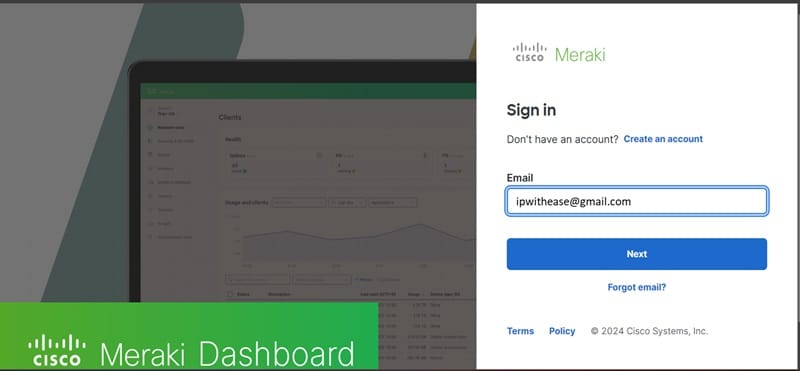
2.1. Log in to Meraki Dashboard
- Go to https://dashboard.meraki.com and sign in.
2.2. Enable Umbrella in Meraki Dashboard
- Navigate to Security & SD-WAN > Configure > Threat Protection.
- Scroll down to the Cisco Umbrella Protection section.
- Select Enable Umbrella Protection.
- Enter the Umbrella API Key and Secret you generated earlier.
- Click Save Changes.
2.3. Configure Site-to-Site VPN
- Go to Security & SD-WAN > Configure > Site-to-site VPN.
- Select the Hub-and-Spoke or Full Mesh VPN topology, depending on your network architecture.
- Set the appropriate VPN routing options:
- Full Tunnel: Routes all traffic through the MX hub.
- Split Tunnel: Routes specific traffic (like SaaS applications) through Umbrella.
2.4. Configure SD-WAN Policies
- Go to Security & SD-WAN > SD-WAN & Traffic Shaping.
- In the VPN Traffic section, configure rules to direct specific traffic to Umbrella, especially for internet-bound traffic (such as SaaS apps or web traffic).
- Create policies like:
- Destination: Any internet traffic.
- Preferred Path: Choose the primary uplink that will be monitored by the SD-WAN connector.
Step 3: Configure Umbrella SD-WAN Connector in Meraki
3.1. Add Umbrella Connector to the Meraki Network
- Go to Security & SD-WAN > SD-WAN & Traffic Shaping.
- Scroll down to Cloud Security.
- Click Add Umbrella Connector.
- Enter the required information, such as Organization ID, Umbrella API Token, and select the MX network you wish to connect to Umbrella.
3.2. Select Traffic to Route via Umbrella
- Define which traffic you want to send through Umbrella, based on your DNS policies or security policies defined in Umbrella.
- Choose whether you want all traffic or specific traffic types (such as web browsing, streaming, or SaaS applications) to route through the connector.
3.3. Configure Application-Based Routing (Optional)
- If your deployment includes Meraki SD-WAN with intelligent traffic routing, configure application-based routing for traffic like Office 365, Google Workspace, and others to take priority.
3.4. Monitor Traffic
- Use the Umbrella Dashboard to verify that the configured traffic is routed through Umbrella, and see traffic logs, application insights, and threat intelligence.
Step 4: Test and Verify the Deployment
4.1. Verify Traffic Routing
- Test routing by sending DNS queries or web traffic from a client behind the Meraki MX.
- Check if traffic is routed through Umbrella for filtering and security enforcement.
4.2. Monitor in Umbrella Dashboard
- Go to the Umbrella Dashboard and check Reports > Activity to confirm that your DNS and web traffic is being processed.
4.3. Review Meraki Logs
- In the Meraki Dashboard, navigate to Network-Wide > Event Log.
- Check for Umbrella-related logs and ensure the MX device is forwarding traffic as expected.
Additional Considerations
- Dynamic Policies: Use Meraki’s content filtering to further complement Umbrella DNS filtering.
- Umbrella Insights: With Umbrella SIG, you can apply security at the IP layer and see more granular details about which users and devices are attempting to access blocked resources.
- Failover Handling: Ensure that Meraki MX devices have multiple uplinks configured for SD-WAN failover to maintain redundancy in case of WAN link failures.
Conclusion
The integration of Cisco Meraki MX SD-WAN with Cisco Umbrella enables enhanced cloud-based security by directing traffic through Umbrella’s Secure Internet Gateway. This deployment ensures that you gain comprehensive control over internet-bound traffic and benefit from DNS-layer protection, threat intelligence, and secure web gateway features.
ABOUT THE AUTHOR

You can learn more about her on her linkedin profile – Rashmi Bhardwaj

