Google ADs
Table of Contents
pyATS Installation
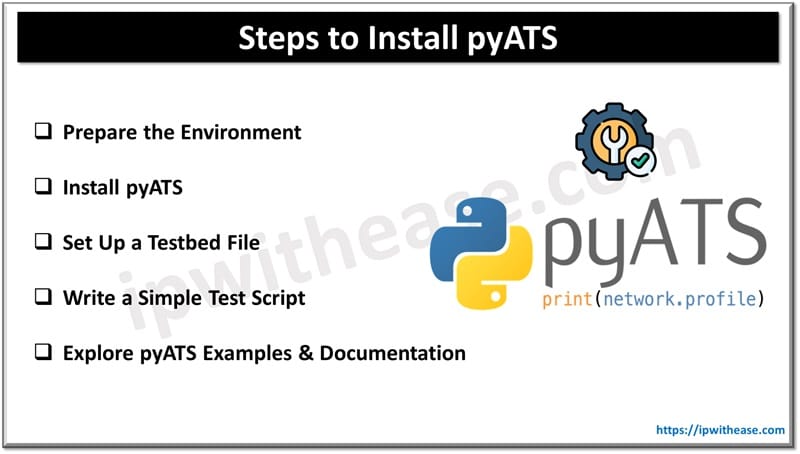
Installing Cisco pyATS is straightforward and can be done on any machine with Python 3.6 or higher. Here’s a step-by-step guide to setting up pyATS:

Step 1: Prepare the Environment
Install Python (if not already installed):
- Check if Python 3.6 or higher is installed by running:
python3 –version- If Python isn’t installed, download it from the Python website and follow the installation instructions for your operating system.
Set Up a Virtual Environment (Recommended):
Google ADs
- Creating a virtual environment helps isolate dependencies and prevents conflicts with other Python projects. Run the following commands:
python3 -m venv pyats-env

source pyats-env/bin/activate  # For Linux/Mac

pyats-env\Scripts\activate     # For Windows
Step 2: Install pyATS
Install pyATS with Genie:
- Install the full pyATS package along with the Genie libraries using pip:
pip install pyats[full]- This installs pyATS core, pyATS libraries, and the Genie parsers, which are useful for parsing network device command outputs.
Verify Installation:
- To check if pyATS is installed correctly, you can run:
pyats version- This command should output the installed version of pyATS, confirming that the installation was successful.
Step 3: Set Up a Testbed File
Create a Testbed YAML File:
- Testbed files define your network environment and specify details like device names, IP addresses, OS types, and login credentials. Here’s an example of a basic testbed file:
testbed:

  name: myTestbed

  devices:

    router1:

      os: iosxe

      type: router

      connections:

        cli:

          protocol: ssh

          ip: 192.168.1.1

      credentials:

        default:

          username: admin
password: admin123- Save this file as my_testbed.yaml.
Test Connectivity to Devices:
- Test connectivity to your devices by running a simple command:
pyats parse "show version" --testbed-file my_testbed.yaml- This command uses Genie parsers to check connectivity to the device and parse the output of show version.
Step 4: Write a Simple Test Script
Create a Python Script for Testing:
- Here’s a simple example script (sample_test.py) that connects to a device and retrieves the interface status:
from genie.testbed import load


# Load the testbed file

testbed = load('my_testbed.yaml')


# Connect to the device

device = testbed.devices['router1']

device.connect()


# Run a command and print output

output = device.parse('show ip interface brief')

print(output)
Run the Script:
- Execute the script using:
python sample_test.pyStep 5: Explore pyATS Examples and Documentation
- Cisco provides extensive documentation and examples for pyATS and Genie to explore additional functionality, such as writing more complex test cases, parsing multiple commands, or performing validations.
- Documentation is available at the pyATS Documentation site.
Troubleshooting Tips
If any issues arise during installation, ensure that:
- Python’s version is compatible (3.6+).
- Virtual environment is activated.
- Network connectivity exists for reaching the devices.
Once installed, pyATS provides a powerful foundation for automating network tests, running validations, and troubleshooting.
ABOUT THE AUTHOR

Founder of AAR TECHNOSOLUTIONS, Rashmi is an evangelist for IT and technology. With more than 12 years in the IT ecosystem, she has been supporting multi domain functions across IT & consultancy services, in addition to Technical content making.
You can learn more about her on her linkedin profile – Rashmi Bhardwaj


