Table of Contents
In this article, we will understand how to create AWS S3 Bucket, object upload, related permissions and viewing the object/file.
Create AWS S3 Bucket: Step-by-Step Process
Below is the step by step process –
Step 1
Login to the AWS management Console via root credentials or via IAM user credentials having the required privileges to create S3 Buckets & Select S3 service.
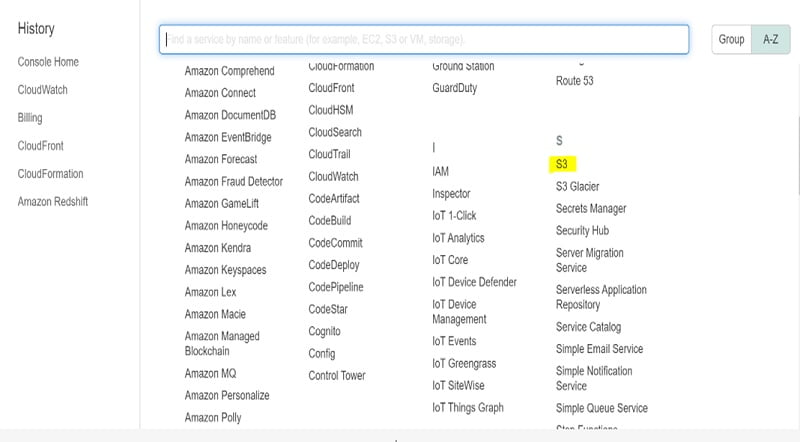
Step 2
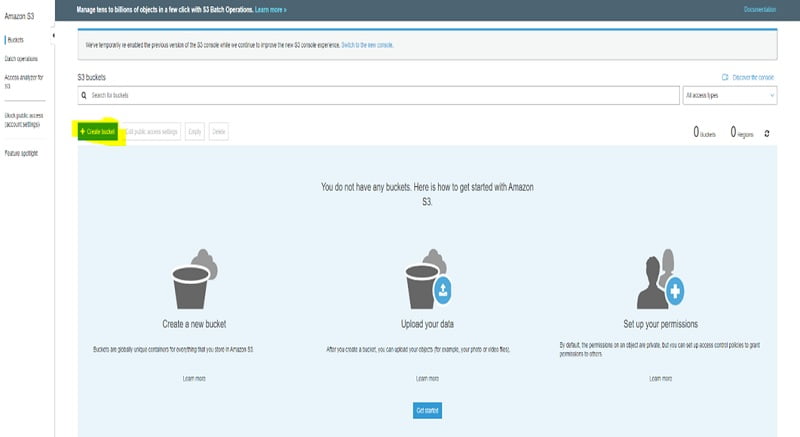
On the next window click on create a new Bucket.
Step 3
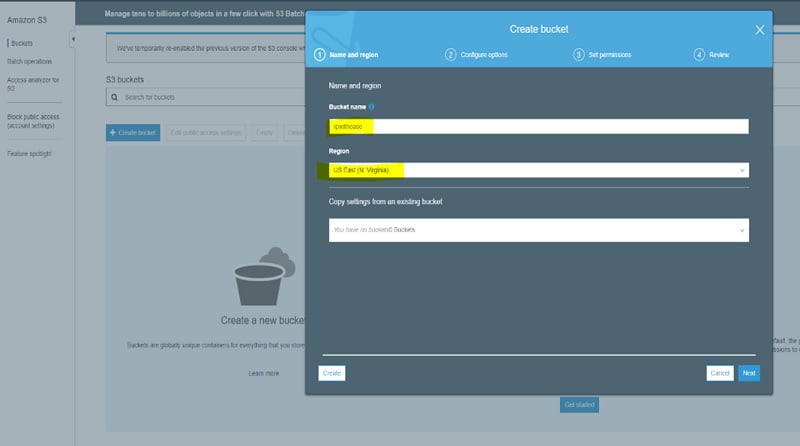
Create your bucket name which should be unique, and then select the region in which you want your bucket to be created. You can select to use existing bucket setting if you have an already created bucket. Here we don’t have any existing bucket hence we create a new one.
Step 4
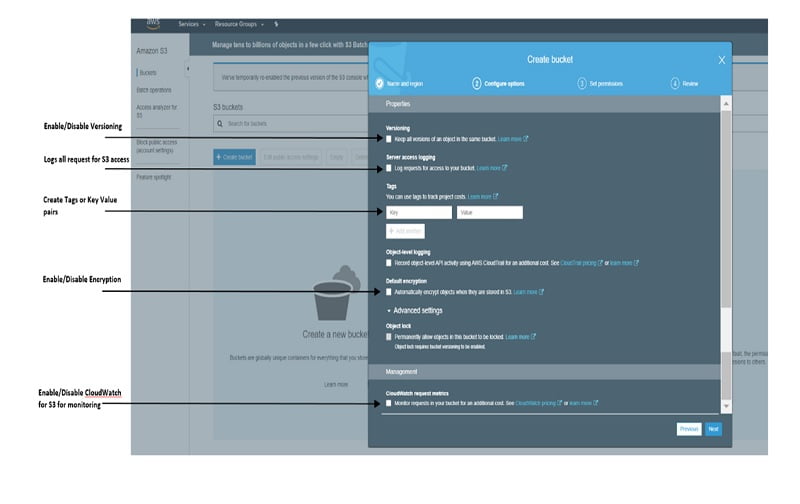
Configure the options for your objects stored in the bucket & Click Next
Step 5
Set Permissions for your bucket. By default we have the check box on “Block all public access”.
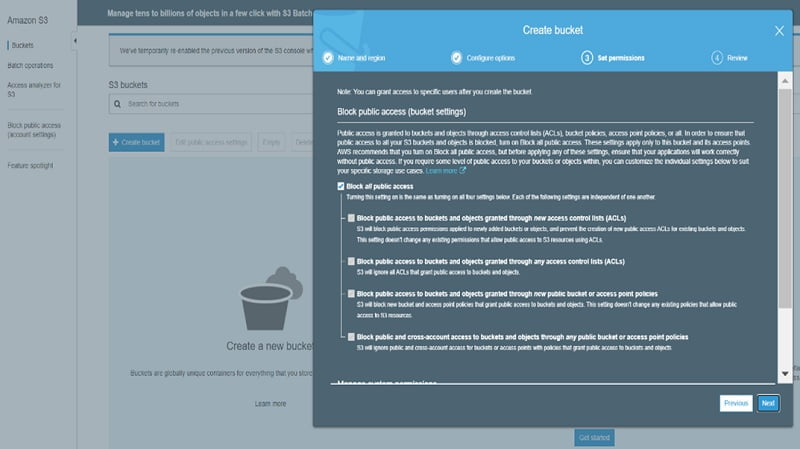
If you uncheck “Block all public access” you get warning as below that files in this bucket will go public.
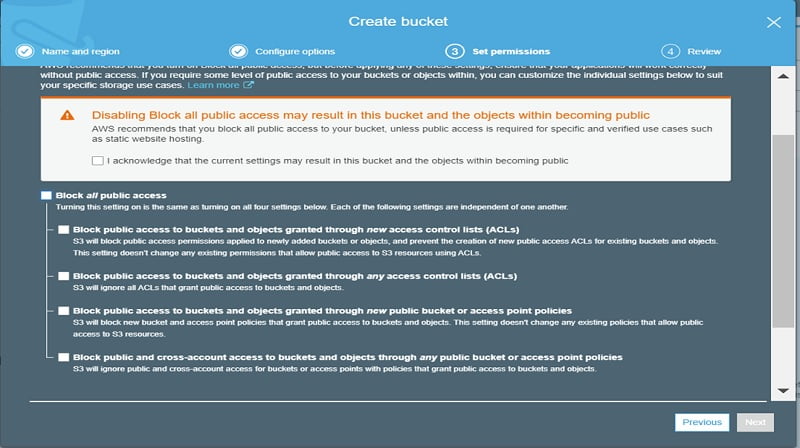
We will leave the bucket with default setting and then Click on Next, Review settings and Click Create to get bucket created.
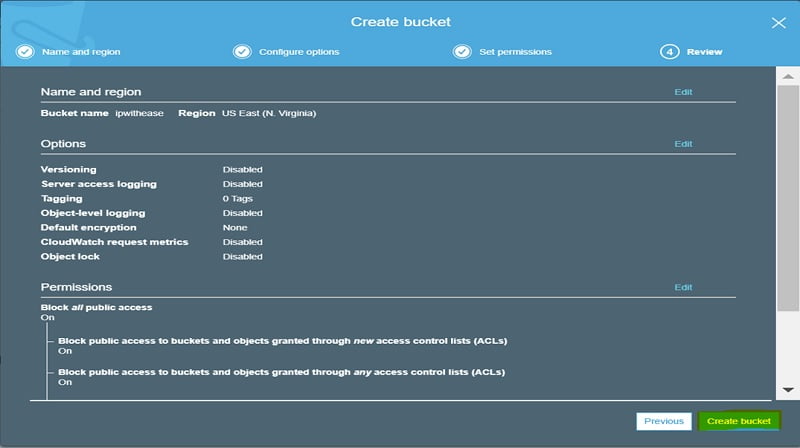
The bucket gets created as below.

Step 6
Now let us go to the bucket and add files/objects to it.
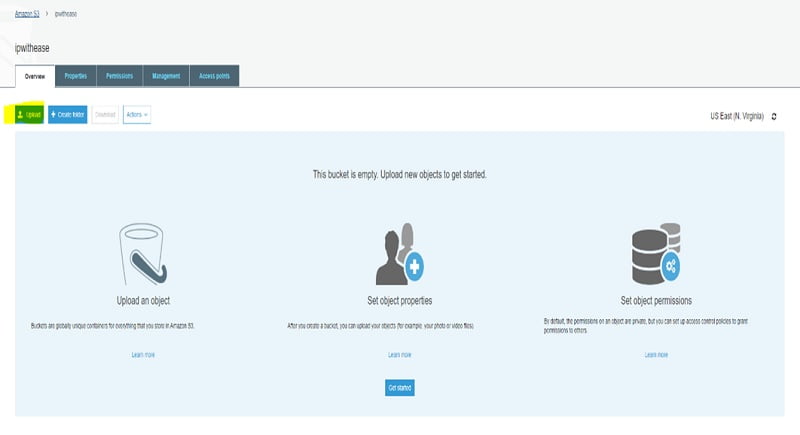
Select the file to upload and Click Next.
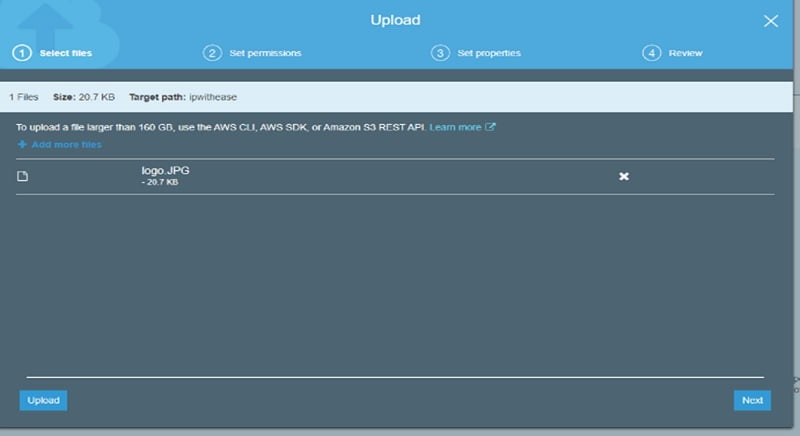
The file shows up as uploaded now in bucket.

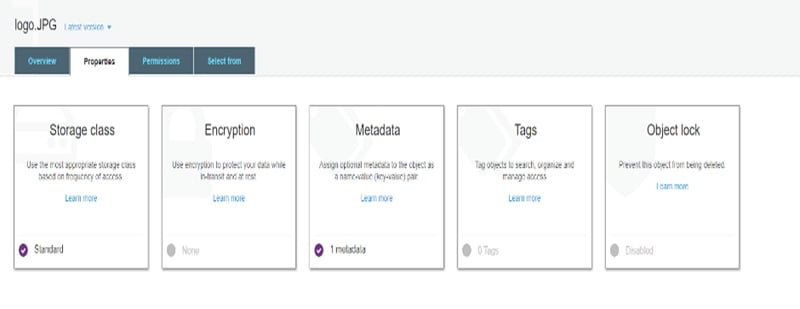
Click on the file to view the properties of the uploaded object as below:
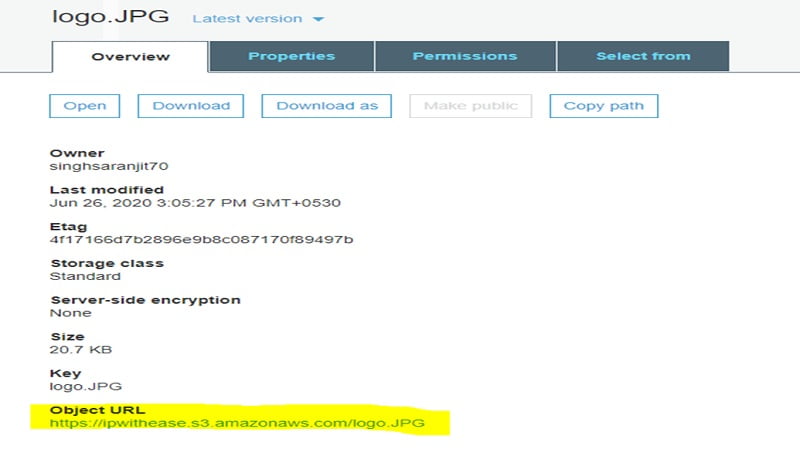
In the screenshot above you see an Object URL, and when we click on that we get access denied as below since the object isn’t public as of now.

In order to make the objects public in the Bucket follow the steps below:
- Goto Bucket and Click Edit Public Access Settings
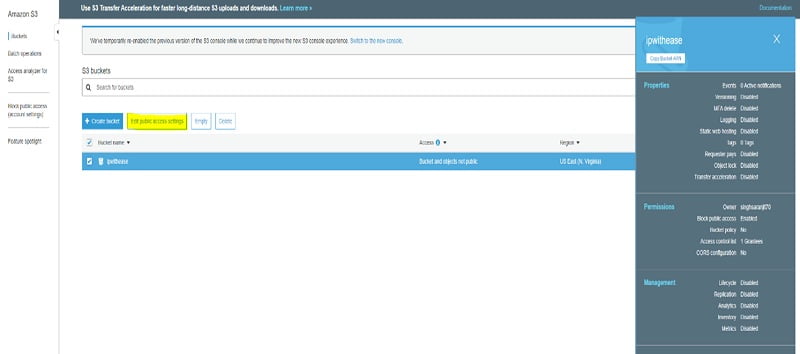
- Uncheck the Block Public Access Setting, Click Save.
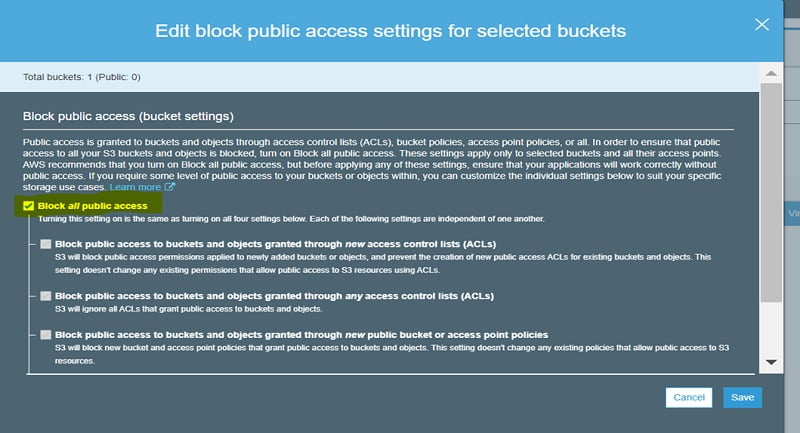
Confirm the action
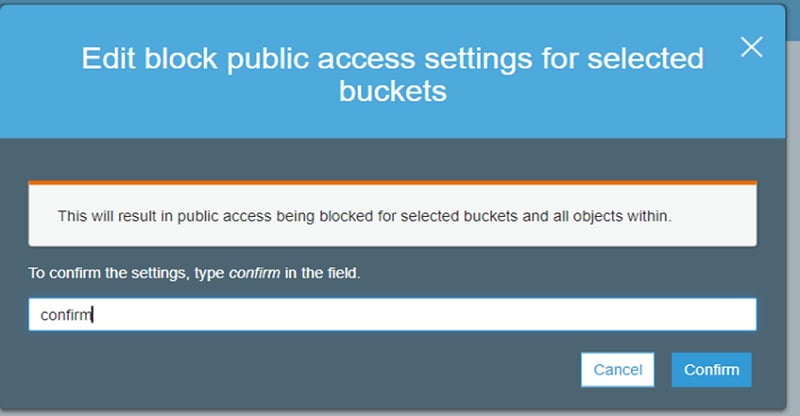
- You see the setting for Bucket has changed as Objects can be public

- At this stage if you go ahead and click on the URL of the object still you will get access denied. Hence you need to specifically go on the Object and Click on ‘Make Public ‘.
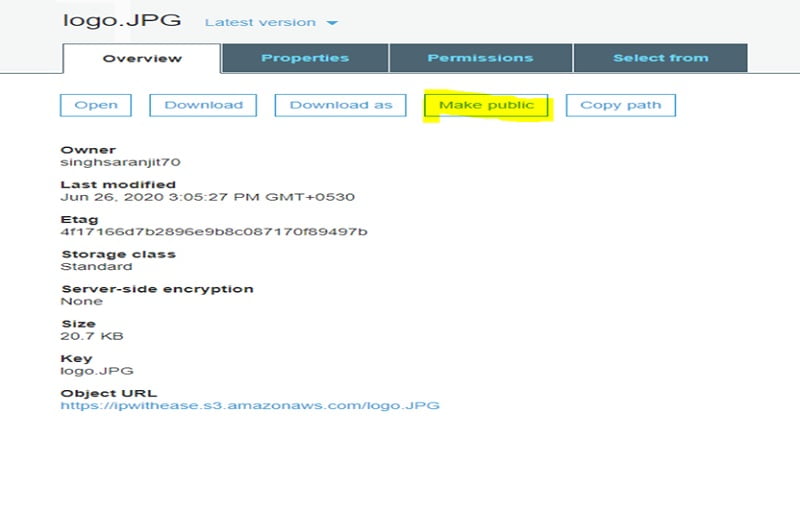
- Now if you go ahead and Click on the URL, you will be able to view the file on the browser.

Related – AWS Interview Questions
ABOUT THE AUTHOR

You can learn more about her on her linkedin profile – Rashmi Bhardwaj

