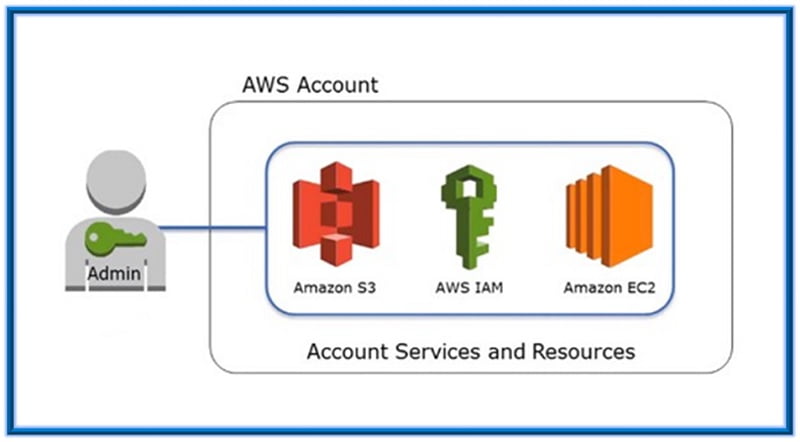
IAM (Identity access manager) in AWS:
IAM stands for Identity Access Manager. It is a feature in AWS console which allows you to manage AWS users and their access to AWS accounts and services.
The common use of IAM is to manage: –
- Users
- Groups
- IAM Access Policies
- Roles
When you the create account in AWS the user is called as ‘Root’ user and by default the root user has FULL administrative rights and access to every part of the account.
Any new user created in AWS account can just login and by default no access to any AWS services. New user must be granted permissions to access the requested part of AWS services.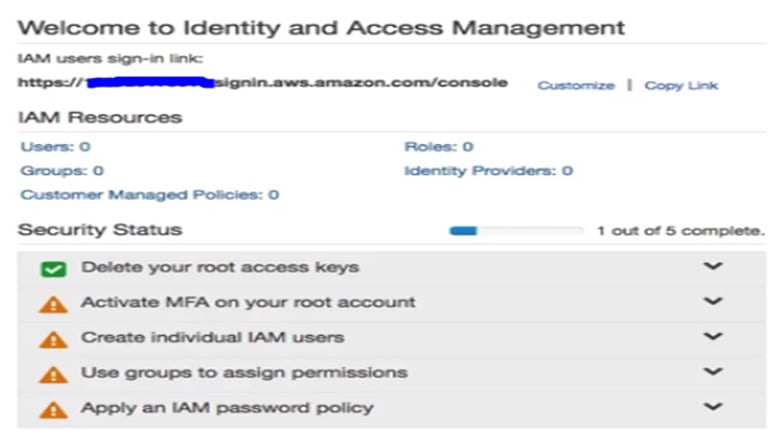
IAM Configuration
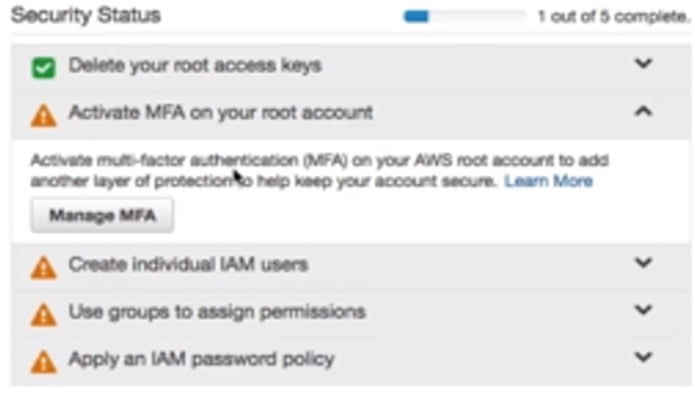
Let’s see the IAM initial configuration and recommend setting by which we can set up a high level of security, accessibility, and Efficiency. When we create a new root account in AWS, we must be completing the tasks which are listed under security Status.
There are 4 Task’s which need to be completed: –
- Activate MFA (Multifactor Authentication) on your Root Account
- Create Individual IAM users
- User groups to assign permissions
- Apply an IAM password policy
- Activate MFA (Multifactor Authentication) on your Root Account: MFA is an additional layer of security on your account provided by a third party. It could be RSA token (Physical), PingID/ Google authentication (virtual), etc., which takes the form of continuously-changing, random six-digit code that you will need to input along with your password when logging into your root account.

Under Activate MFA on your root account, Click on Manage MFA –
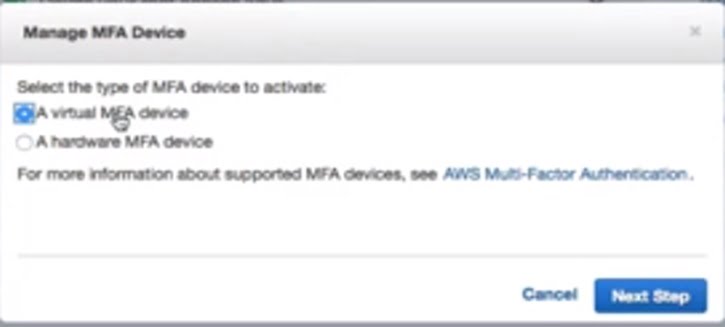
Since we are setting up Virtual type of MFA, click on A virtual MFA device and then click Next Step
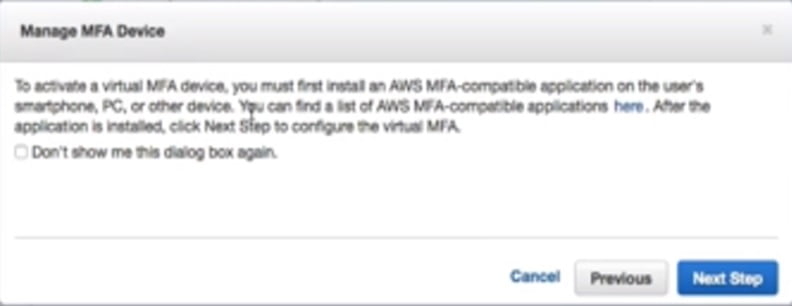
You must be having a virtual MFA application installed on your PC/ Smartphone or other devices. Let’s say you have downloaded Google Authentication on your PC/Laptop or other devices. Then click Next Step.
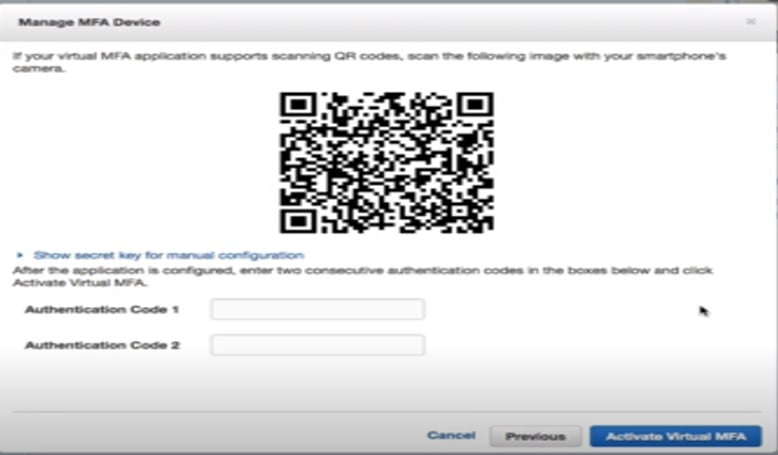
Scan the QR code, you will get two successive authentication code on your phone. Enter the code and wait for 10 more sec to get 2nd code, enter the 2nd code and then finish.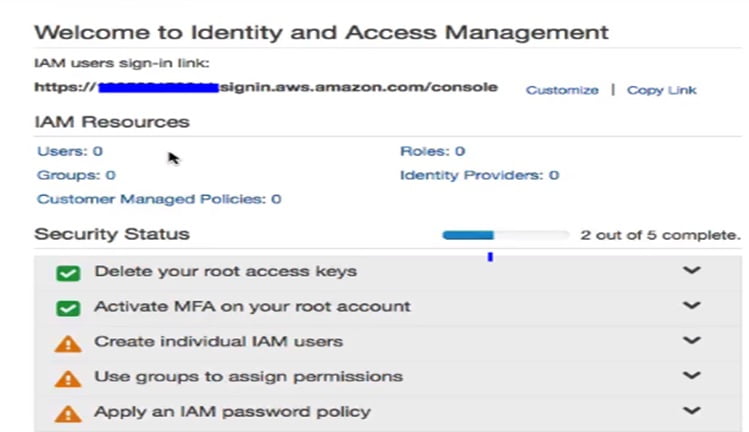
Your MFA authentication has been set on root account.
2 – Create Individual IAM users: – AWS highly recommended not to use your ROOT account for day to day use, you should be creating a new IAM user and attach the Admin access policy on it.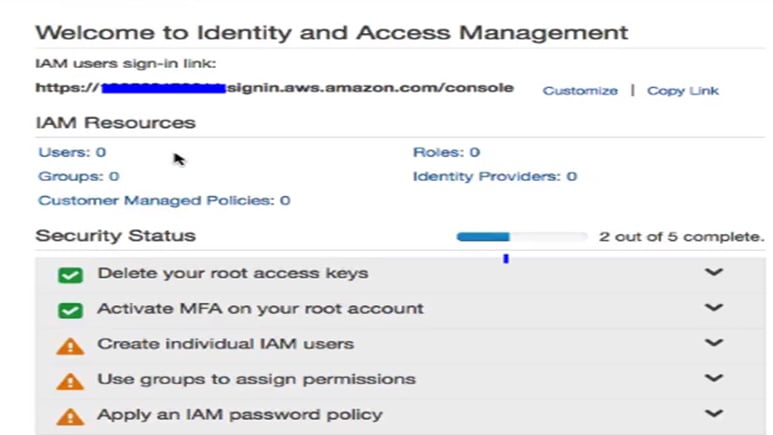
Click on create Individual IAM users.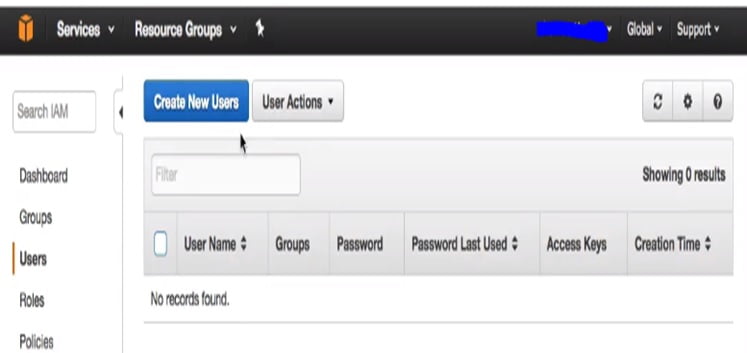
Click on create new users.
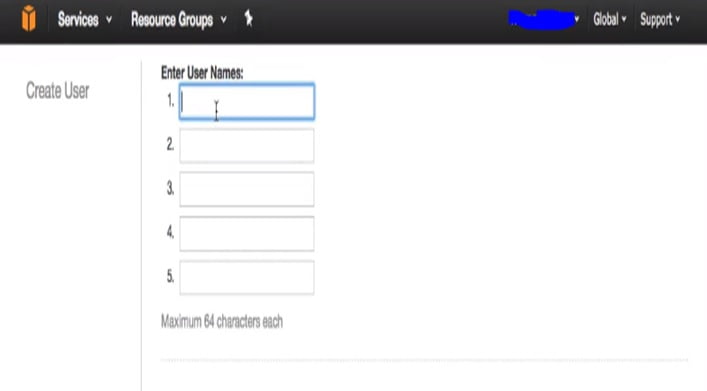
Enter Name:- Lets say Tom and then click next

Click Next step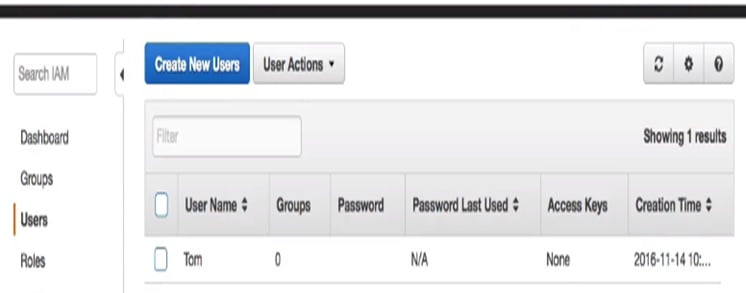
Here the user has been created and now we have to assign the administrative policy to it. Click on the user.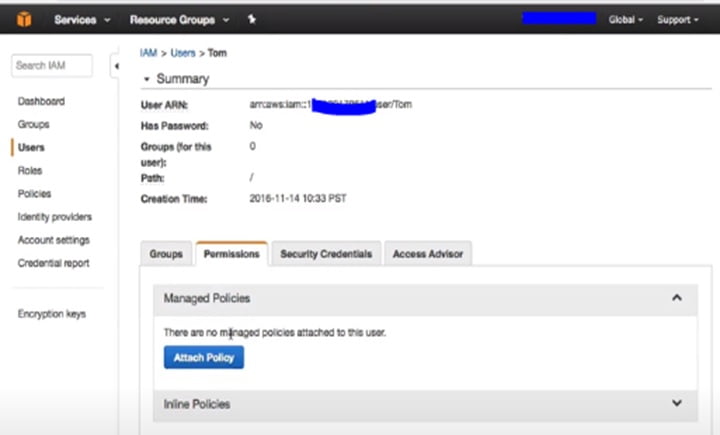
Click on Permissions
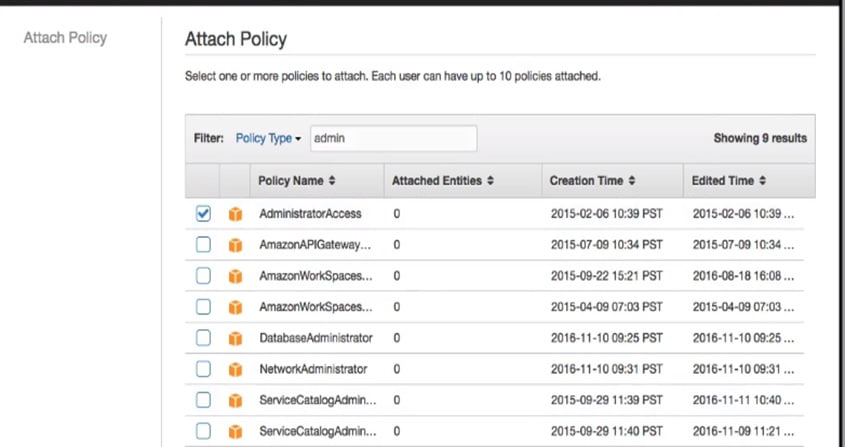
Click next, Policy will be attached with user.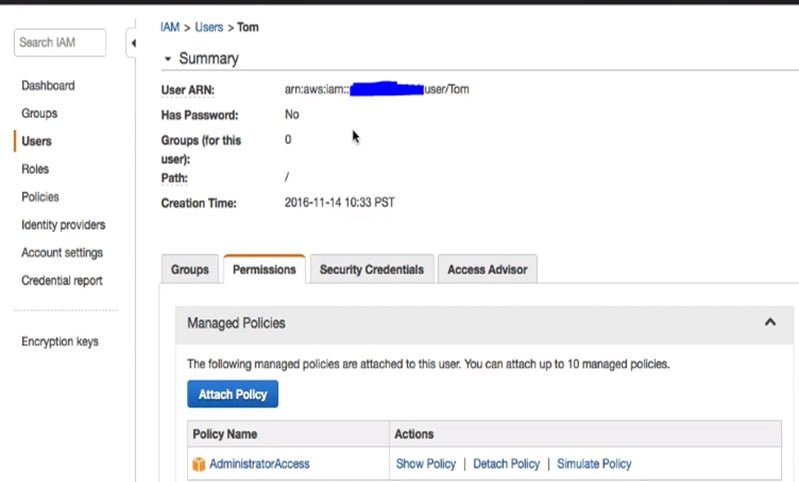
Now the user is having full access to AWS services. 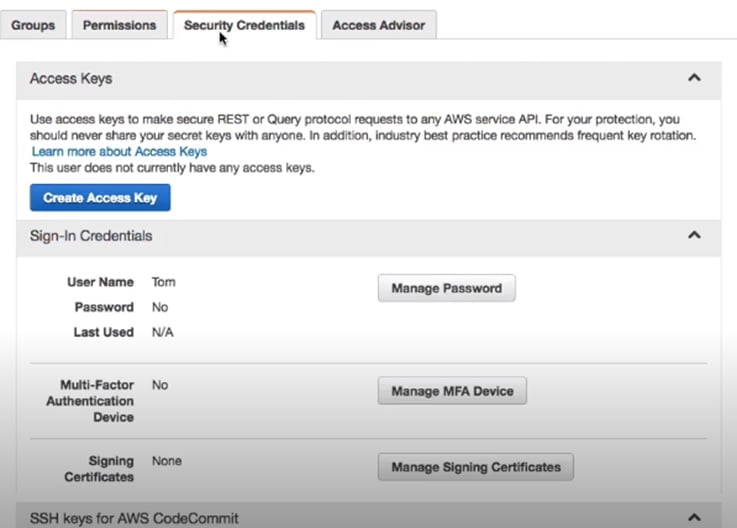
Setup a password for this new account.
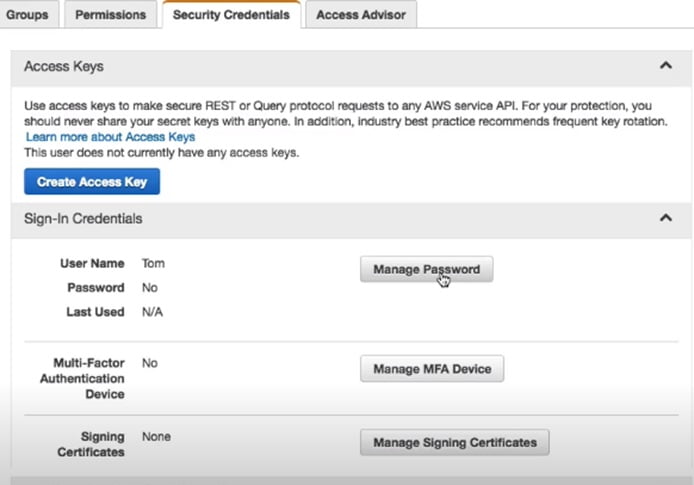
Click on manage password.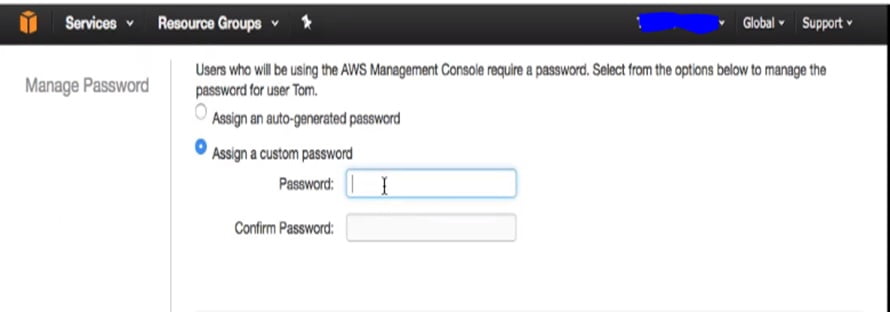
Type the password and your password will be set.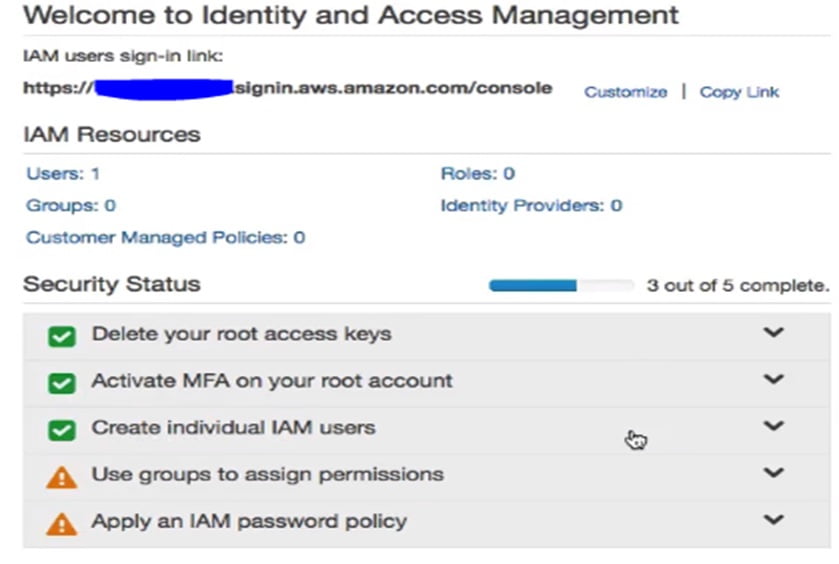
3- User groups to assign permissions: – It would always good to assign permissions to groups rather than managing each user individually.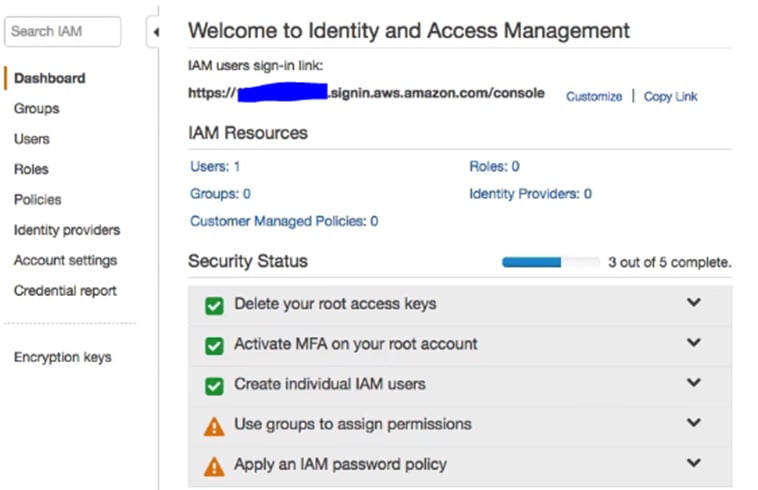
Click on User groups to assign permissions.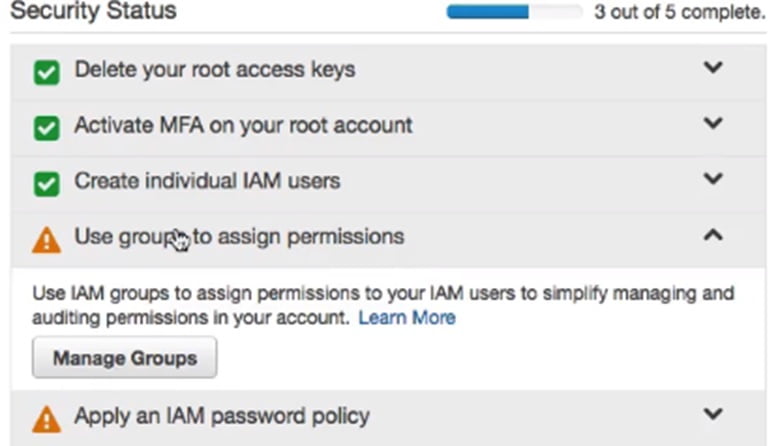
Click on Manage groups.
Click on create new group.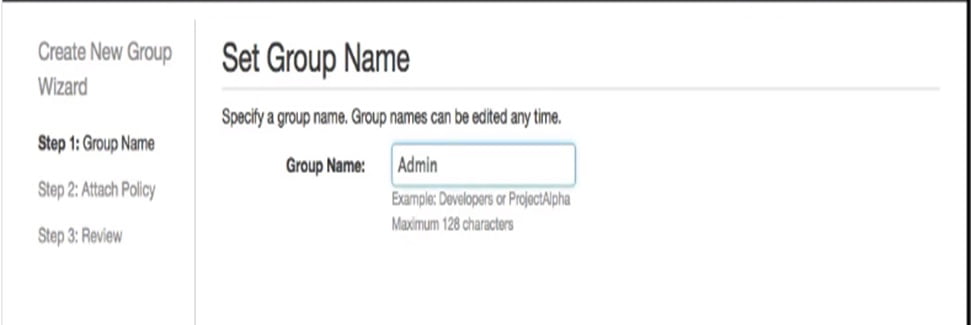
Click Next step, Admin group has been created and now need to assign adminstrative polices to it.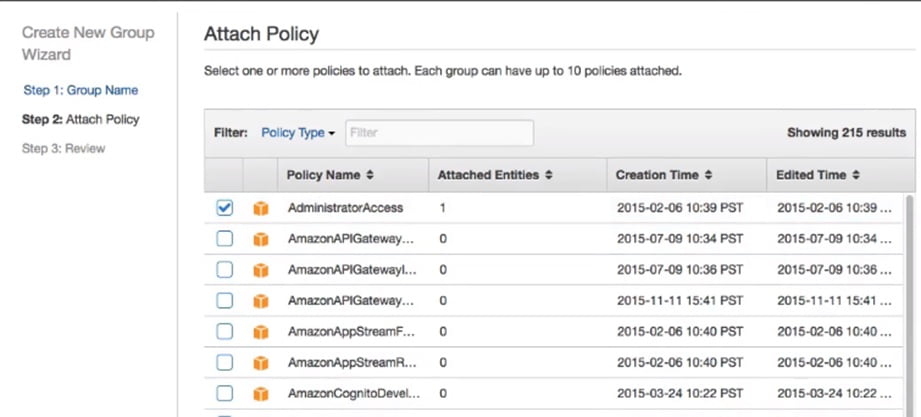
Click Next Step and then create group.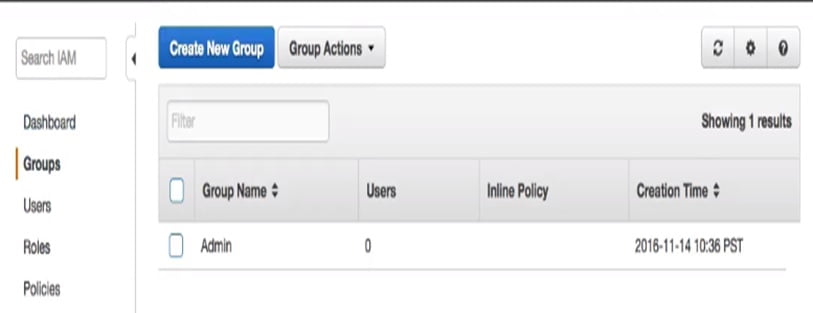
New Group has been created with name Admin, you can add users in this group.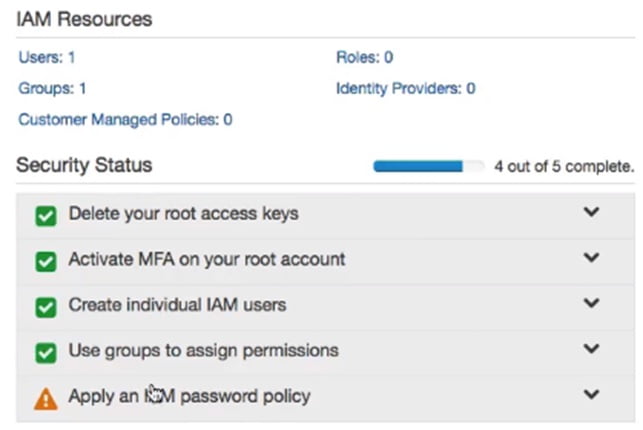
Task has been completed successfully, Group has been created.
4- Apply an IAM password policy: – A password policy dictates the format and explanation rules that must be followed by a user when setting a password. You may have seen many time’s that while setting the password and they say like it’s too short and it needs to be eight or six characters or passwords doesn’t meet its complexity etc. This is what we are doing, we are creating rules that need to follow when the user creates passwords for themselves. 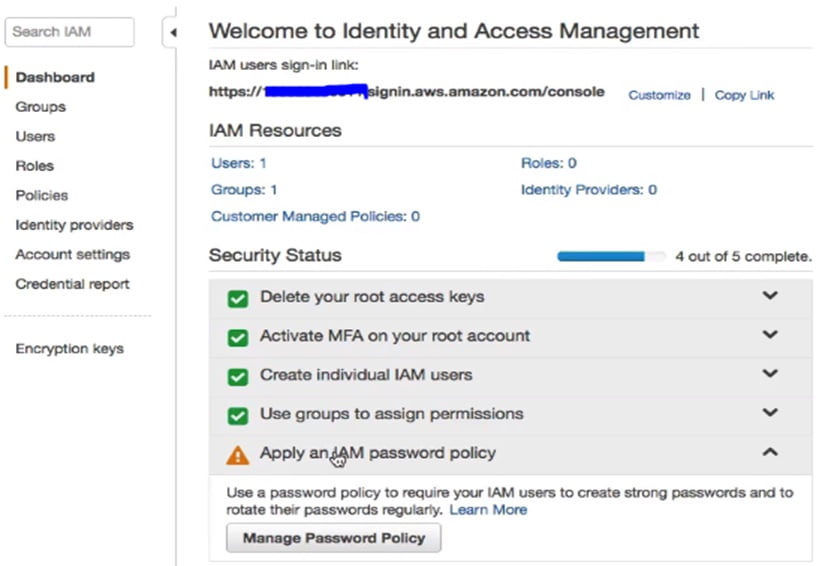
Click on manage password policy.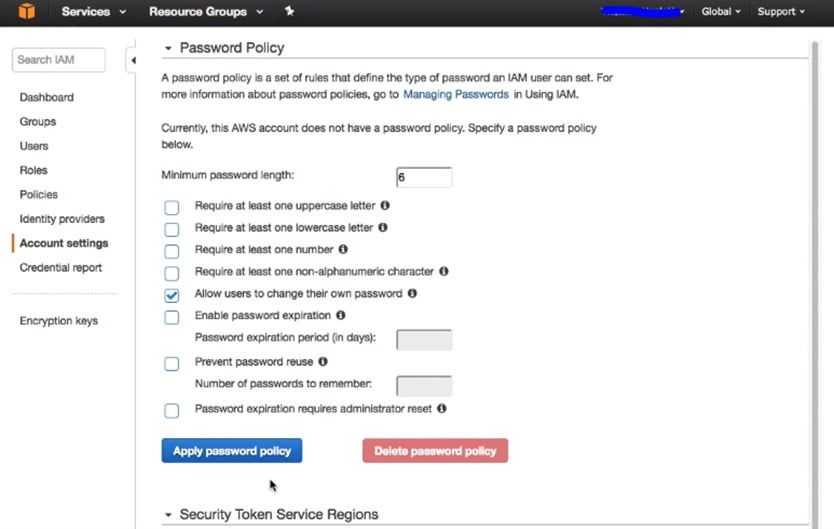
All the options we have are to strengthen your passwords.You can choose any options as per your password policy or level of security you wanted. Select the option as per your requirement and then click Apply Password Policy.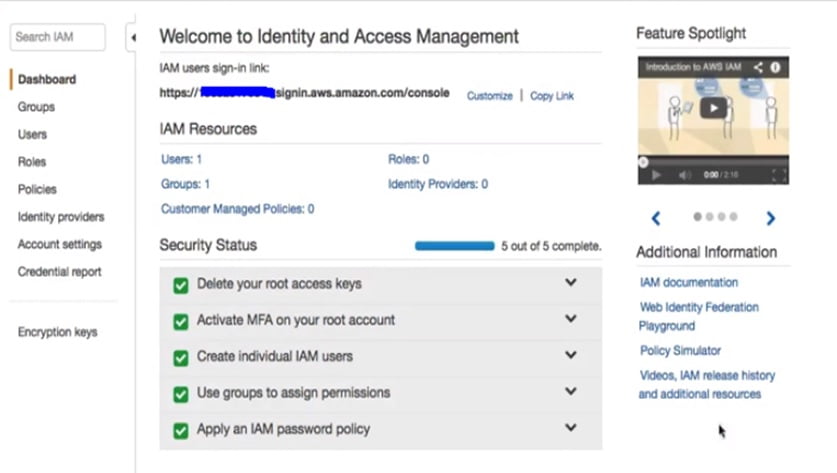
Related – AWS Storage Classes in S3
ABOUT THE AUTHOR

You can learn more about her on her linkedin profile – Rashmi Bhardwaj

