Table of Contents
ESXi Host Configuration: Step-by-Step
Once the ESXi host has been installed on VMware workstation, you can manage the ESXi host via a vCenter server or manage it locally. To manage it locally we will put in the IP address of our ESXi host in browser tab and get to following prompt.
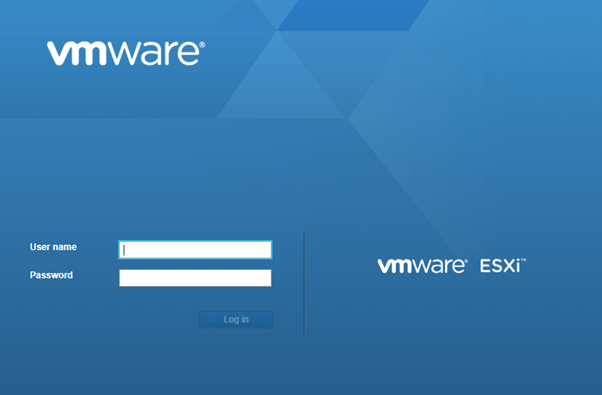
Enter the username and password
Enter the username and password that you have set while installing the ESXi host and you will see the below window once logged in and from here you can start configuring your ESXi host.
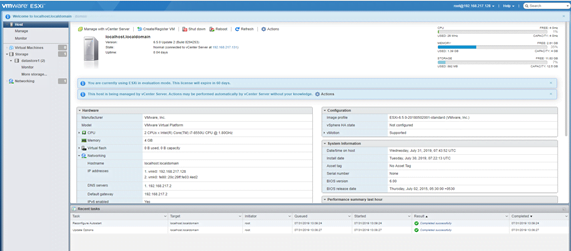
Configure the basic settings on your ESXi host
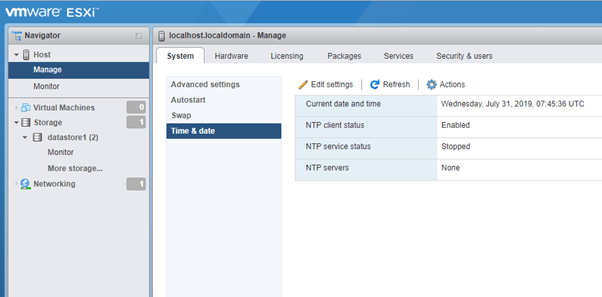
Click on Manage and you will get many options to configure the basic settings on your ESXi host as below:
- System Settings:
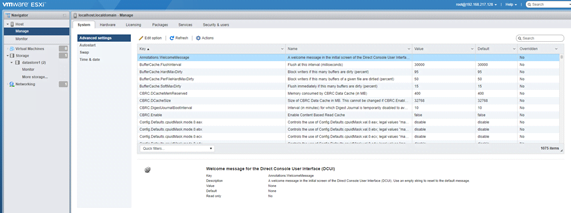
- Advance Setting: you can modify the entries of the vpxd.cfg file but this is recommended to change only when instructed by VMware technical support. Options under Advanced setting are as below:
- Auto Start: Under this option you can configure the delay for the VMs to auto-start and auto-stop after the ESXi host is started or stopped.

- SWAP: Under this option you can select the host swap file location and move it to different data-store if needed.

- Time & Date: Under this option you can set the time manually for this host or add a NTP server from where this host can Sync its time.

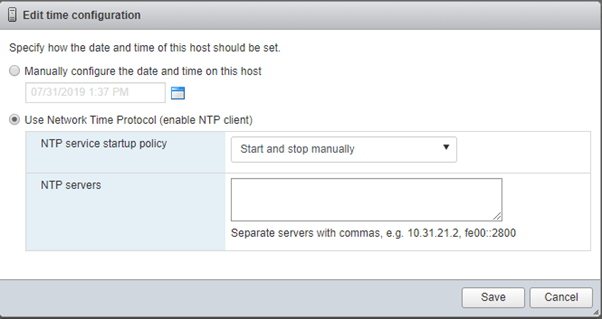
If you want to use the NTP server for time sync, you must enable NTP service under Actions -> NTP Service -> Start

Hardware Settings:
- PCI Devices: You will see all devices here consuming the power

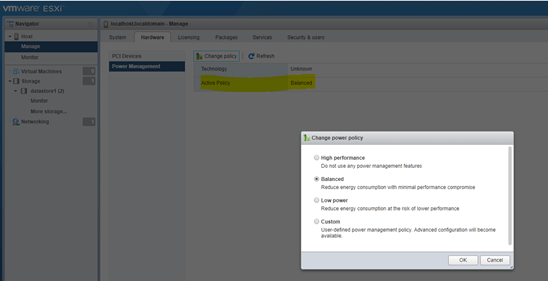
- Power Management: Under power management you can see the policy of power management that is active. By default it is balanced but you can see the other options as well and apply power consumption policy as per your need.
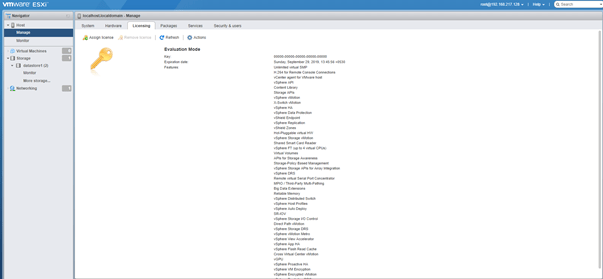
- Licensing: Under this you can see the currently active license and the list of features provided under that license. You can assign a new license or remove an existing license here.
- Packages: Under this you can check all the updates and packages that have been installed or can install new updates.

- Services: Under services you can start and stop different services that are running on the ESXi host.

- Security & Users: You can have the following options under this
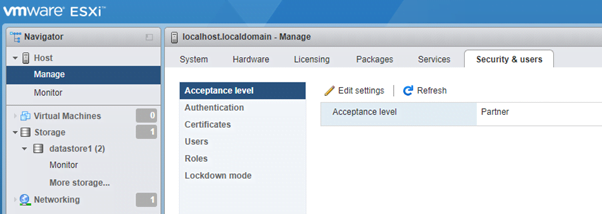
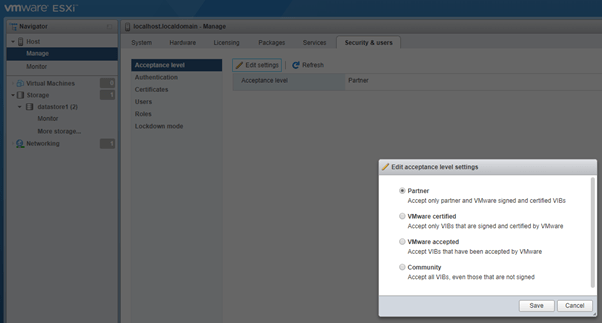
- Acceptance Level: You can select one of the following acceptance levels for your ESXi host.

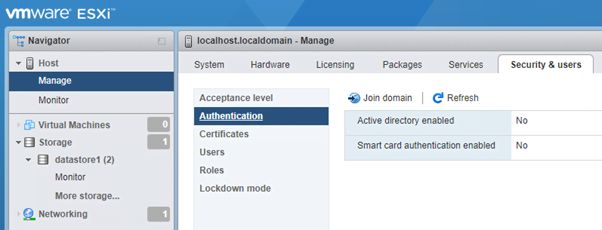
- Authentication: Here you can specify the ESXi host to join an AD domain and users can then login to ESXi host via their domain credentials and start managing it.
- Certificates: You can manage the certificates locally if no vCenter server is deployed but if you have a vCenter server then certificates are managed through that.

- Users: You can add more users here and assign passwords to them. These will be locally authenticated and we can assign different levels of permission to these users via roles.

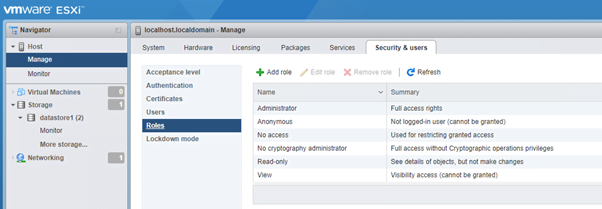
- Roles: Under this we can see different roles that are available and we can assign these roles to users to allow different privilege levels to users.
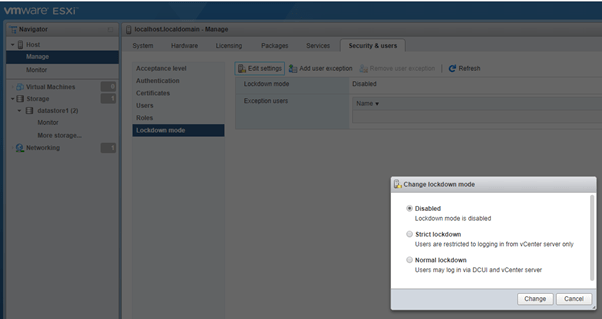
Lockdown Mode: You can select the Lockdown mode here.
- Strict Lockdown: You can manage this host only through vCenter.
- Normal Lockdown: Enables management through vCenter and via DCUI.
- Storage: Under storage you can add a data store, increase capacity of data store, and manage storage adaptors, and can manage the LUNs ( Logical Unit Numbers) under devices.


Networking
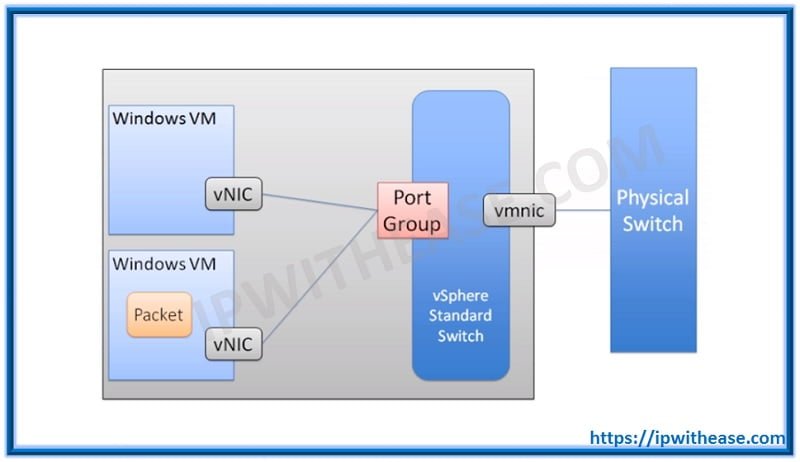
- Port Groups: Add/Delete port groups on Virtual switches.
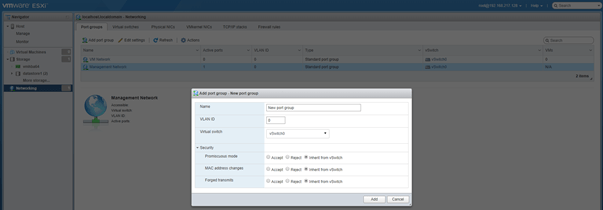

- Virtual Switches: You can manage your vSwitches under this setting.
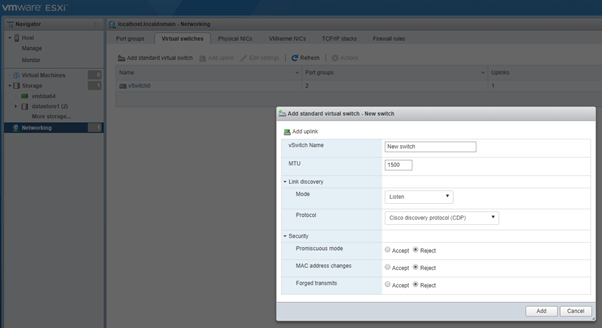
Note: Security settings on the port-group level take preference over the settings on vSwitch level.
- Physical NICs: Under this you can check the physical NICs available and modify there settings.


- VMkernel NICs: Under this you can see the VMkernel ports available and modify its settings as required

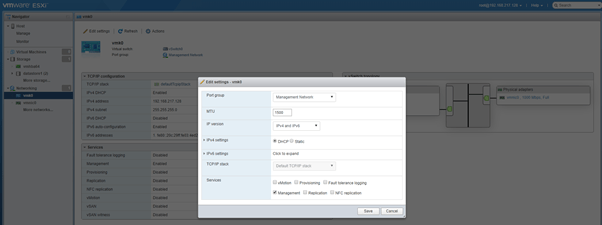
- TCP/IP Stack: You can view the in-built TCP/IP stacks available

- Default TCP/IP Stack– multi-purpose stack that can be used to manage any of the host related traffic services. Shares a single default gateway between all configured network services.
- vMotion TCP/IP Stack– utilized to isolate vMotion traffic onto its own stack. The use of this stack completely removes or disable vMotion traffic from the default TCP/IP stack.
- Provisioning TCP/IP Stack– utilized to isolate some virtual machine related operations such as cold migrations, cloning, snapshot, NFC related traffic.
- Firewall Rules: Can configure the firewall rules to allow or deny traffic into the VM network.
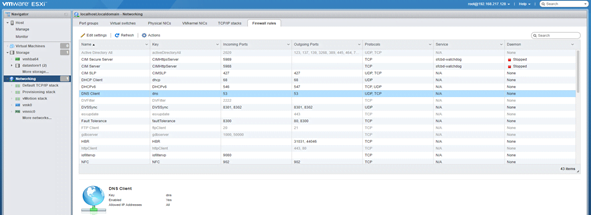
Additionally you can manage all VMs on the ESXi host client.
Your Evaluation License for ESXi has Expired!! Check how to renew ESXi Evaluation License
Continue Reading:
ESX vs ESXi – Difference between ESX and ESXi
How to configure VM autostart on VMware ESXi?

