Table of Contents
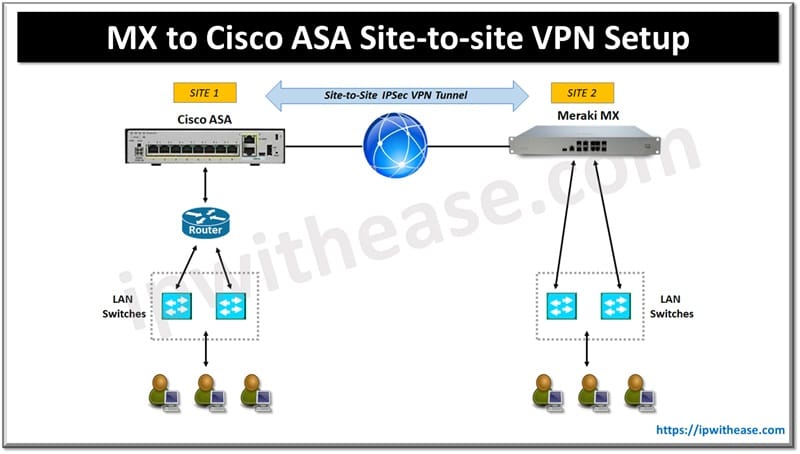
Here’s a step-by-step guide to Site-to-Site VPN setup between a Cisco Meraki MX security appliance and a Cisco ASA firewall.
Prerequisites
- Cisco Meraki MX device with admin access to the Meraki Dashboard.
- Cisco ASA firewall with CLI or ASDM access.
- Static public IP addresses (or DDNS for Meraki MX) on both ends of the VPN.
- IKE Phase 1 and Phase 2 parameters (encryption, hashing, authentication).
Cisco Meraki MX to Cisco ASA Site-to-site VPN Setup: Step-by-Step Guide
Step 1: Configure Site-to-Site VPN on Cisco Meraki MX
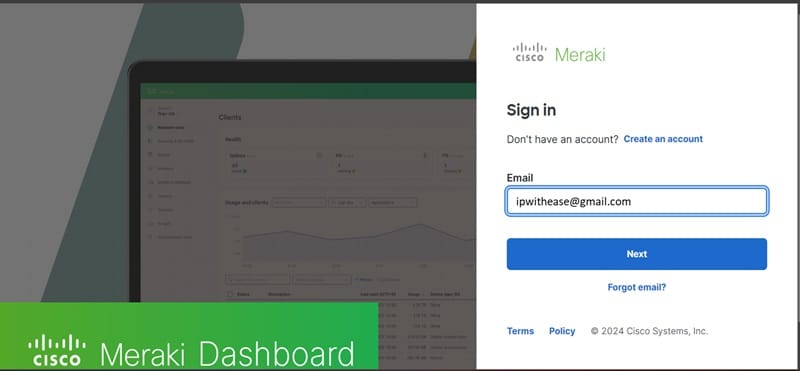
1.1. Login to Meraki Dashboard
- Go to https://dashboard.meraki.com and log in with your credentials.
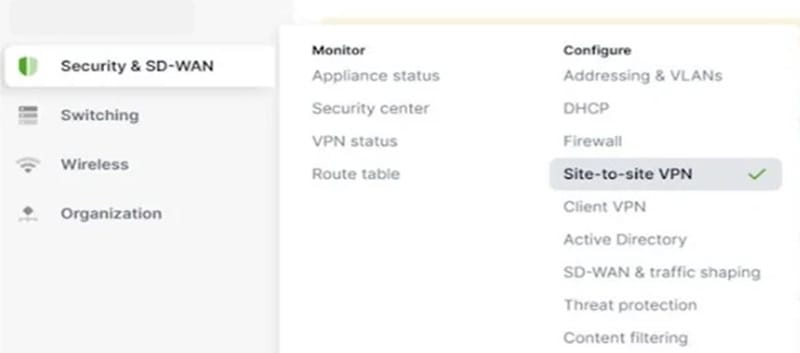
1.2. Navigate to Security & SD-WAN
- Select the network where your MX device is located.
- From the left-hand menu, go to Security & SD-WAN > Site-to-site VPN.
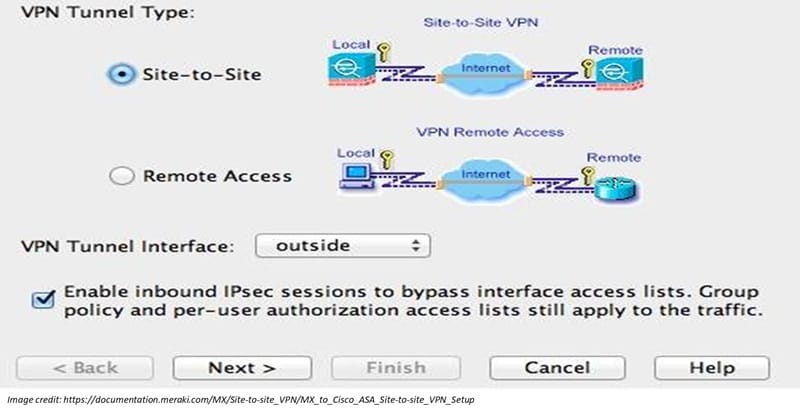
1.3. Configure the VPN Settings
- In the VPN Type, select Hub (Mesh) or Spoke (Hub-and-Spoke) depending on your network design.
- In the Non-Meraki VPN peers section, add a new peer:
- Name: Give a meaningful name (e.g., Cisco ASA Site).
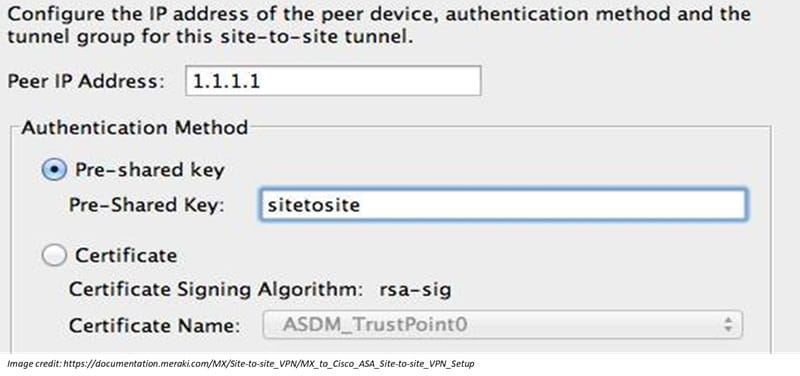
- Public IP: Enter the public IP address of the Cisco ASA.
- Private subnets: Specify the subnets behind the ASA you want to reach via the VPN (e.g., 192.168.10.0/24).
- Secret: Enter the pre-shared key (PSK) that will be used to authenticate with the Cisco ASA.
- IPsec Policies: You can leave this as Default or customize the encryption and hashing algorithms to match those on the ASA.
- Availability: Specify which MX appliances or networks should use this VPN connection.
1.4. Configure Meraki Subnets for VPN
- Scroll down to the Local Network section.
- Choose which subnets in the Meraki network will be included in the VPN.
- For each subnet, toggle Use VPN to enable it.
1.5. Save Settings
- Once the configuration is complete, click Save to apply the changes.
Related: Configuring Cisco ASA Transparent Mode
Step 2: Configure Site-to-Site VPN on Cisco ASA
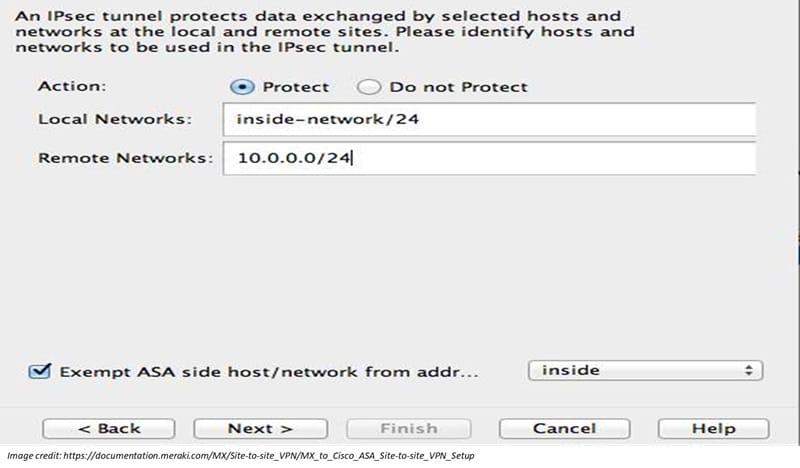
2.1. Login to Cisco ASA
- Access the ASA using CLI or ASDM.
2.2. Define IKEv1 Phase 1 Policies
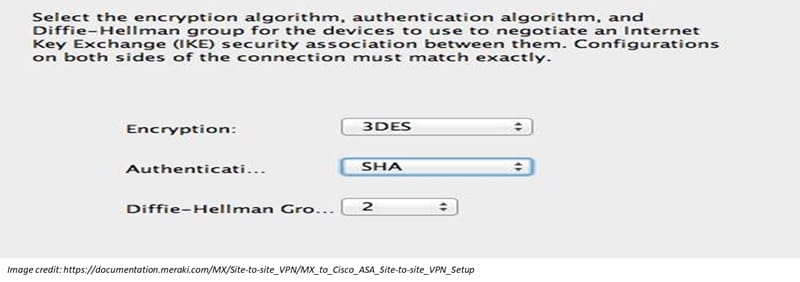
- Configure the IKEv1 Phase 1 parameters (encryption, hashing, lifetime) to match the settings on the Meraki MX.
crypto ikev1 policy 10

   authentication pre-share

   encryption aes

   hash sha

   group 2

   lifetime 86400
2.3. Define the Pre-shared Key for the VPN
- Set the pre-shared key to be the same as the one you defined on the Meraki MX.
tunnel-group <Meraki MX Public IP> type ipsec-l2l

tunnel-group <Meraki MX Public IP> ipsec-attributes

   ikev1 pre-shared-key <your-pre-shared-key>
2.4. Define IKEv1 Phase 2 Parameters
- Specify the encryption and integrity algorithms for IPsec (Phase 2).
crypto ipsec ikev1 transform-set MY_TRANSFORM_SET esp-aes esp-sha-hmac2.5. Create the Crypto Map
- Define the crypto map that ties the peer IP and the transform set together.
crypto map outside_map 10 match address VPN_ACL

crypto map outside_map 10 set peer <Meraki MX Public IP>

crypto map outside_map 10 set ikev1 transform-set MY_TRANSFORM_SET

crypto map outside_map interface outside
2.6. Define Access List for Traffic to Encrypt
- Create an ACL to specify the traffic that should be encrypted (subnets on both sides).
access-list VPN_ACL extended permit ip 192.168.10.0 255.255.255.0 192.168.20.0 255.255.255.0- This example assumes 192.168.10.0/24 is the subnet behind the ASA, and 192.168.20.0/24 is the subnet behind the Meraki MX.
2.7. Enable NAT Exemption
- Ensure the traffic between the two networks is not NATed.
nat (inside,outside) source static 192.168.10.0 192.168.10.0 destination static 192.168.20.0 192.168.20.02.8. Apply the Configuration
- After configuring the VPN, apply the changes to the ASA.
write memoryStep 3: Verify the VPN Status
3.1. Check the VPN Status in Meraki Dashboard
- In the Meraki Dashboard, go to Security & SD-WAN > Monitor > VPN Status.
- Check if the Non-Meraki peer is up and the tunnel is active.
3.2. Check VPN Status on the Cisco ASA
- Use the following CLI commands to verify the tunnel status:
show crypto ikev1 sa

show crypto ipsec sa- These commands will show if the IKE and IPsec tunnels are established.
3.3. Test Connectivity
- From a device behind the Meraki MX, attempt to ping a device behind the Cisco ASA and vice versa.
- Ensure that traffic is flowing through the VPN.
Troubleshooting Tips
- Mismatched Phase 1 or Phase 2 Settings: If the VPN fails to establish, check that the encryption, hashing, and DH group settings match on both the MX and ASA.
- Firewall Rules: Ensure that the firewalls on both sides allow the necessary traffic (UDP 500, UDP 4500 for IPsec).
- NAT Exemption: Verify that NAT exemption is configured correctly, as NAT can cause VPN traffic to fail.
Conclusion
By following these steps, you should be able to successfully configure a Site-to-Site VPN between a Cisco Meraki MX and a Cisco ASA firewall. Once the VPN is set up, both networks can securely exchange traffic over the encrypted tunnel.
ABOUT THE AUTHOR

You can learn more about her on her linkedin profile – Rashmi Bhardwaj

