What is Ghost Casting?
Ghost imaging, sometimes called Ghost casting (or cloning) is a software based data backup process where contents of a computer are copied and into group of files called as an image. The ghost image copies the entire contents to another server or machine including configuration information and application
The purpose of the ghost image (Ghosting or Ghost casing) is to expedite process of cloning from one system onto other systems, or to enable a quick restore of a system. It enables migration from one disk or PC to another.
Ghost Casting Across VLANs
Example Scenario: Configuring Connectivity Between Ghost Server and Client Across VLANs
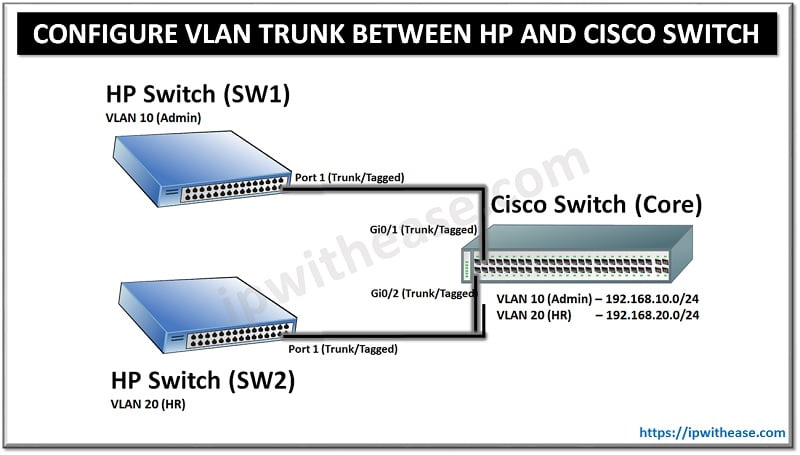
Below is a scenario where Ghost Server in Vlan 10 (IP address of ghost Server = 192.168.10.10). There are two DHCP servers also in vlan 10 with IP addresses 192.168.10.11 and 192.168.10.12.
The Ghost clients (workstations) are in Vlan 20 (IP address of Ghost clients = 192.168.20.10 and 11 respectively).

Pre-requisites:
Requirement is to have Ghost client in vlan 20 to be able reach both unicast and multicast (ghost casting) sessions to the ghost server in vlan 10.
To do this the following is required on a cisco Layer 3 switch with cisco IOS –
interface vlan 1ip igmp snooping querier
!
interface Vlan10
ip pim sparse-dense-mode
!
interface Vlan20
ip helper-address 192.168.10.10
ip helper-address 192.168.10.11
ip helper-address 192.168.10.12
ip pim sparse-dense-mode
Key considerations here –
1 – The ip pim spare-dense-mode needs to go on each VLAN that ghosting will be used on.
2 – “ip helper-address” command is used to forward the broadcasts for DHCP addresses to the DHCP servers and also required if we want the ghost session to automatically detect where the ghost server is without needing to enter the IP address manually.
Continue Reading:
Managing Cisco DHCP Client Identifier
Understanding Dora Process in DHCP
ABOUT THE AUTHOR

You can learn more about her on her linkedin profile – Rashmi Bhardwaj


