You would need to export archive data from Exchange Server or mailbox to PST due to many reasons. Let’s explore some of these reasons.
- A user leaving the company and the mailbox/archive needs to be exported for backup purpose.
- When migrating to Exchange Online.
- To export data from large mailbox or archive.
- To increase space for primary mailboxes.
Whatever be the reason, let’s explore the options to export archive data from Exchange Server.
Methods to Export Exchange Archive Mailboxes to PST
Below, we will discuss three methods to export archive mailboxes to PST.
1. Using the Exchange Server
In Exchange Server, there are two options to export mailboxes to PST – using the PowerShell commands and the Exchange Admin Center. However, before using these methods, you need to assign the right permissions to the user (you will be using for the export process) and create a network share path to save the PSTs.
To assign permissions to the user, open the Exchange Admin Center (EAC), click on Permissions, and then click on Admin Roles. Create a new admin role by clicking on the plus (+) button. Find the import/export role and assign permission to the user.

Alternatively, you can use the PowerShell command as given below to add the role.
New-ManagementRoleAssignment –Role “Mailbox Import Export” –User “<Username>”

New-ManagementRoleAssignment -Role “Mailbox Import Export” -SecurityGroup “Organization Management” -Name “Import Export”

Now, create the share to export the data to. Once the folder is created, make sure to share the folder and give permissions to the Exchange Trusted Subsystem with full Read/Write permission.
a) Export Archive Mailboxes to PST using PowerShell
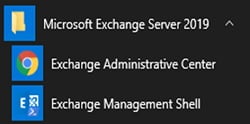
Open the Exchange Management Shell (EMS).
Type the following command to start the mailbox export to PST file.

New-MailboxExportRequest -mailbox <mailbox> -filepath “<export path network>” -IsArchive
This will queue the export and Exchange Server will start exporting the mailboxes accordingly. To check the status of the export, you can use the Get-MailboxExportRequest command as given below.
Get-MailboxExportRequest

This will show the status as in-progress, failed, or completed.
b) Export Archive Mailboxes to PST using the EAC
Open the Exchange Admin Center (EAC) and log in with the user having the right permissions. Click on Recipients and find the user to export.
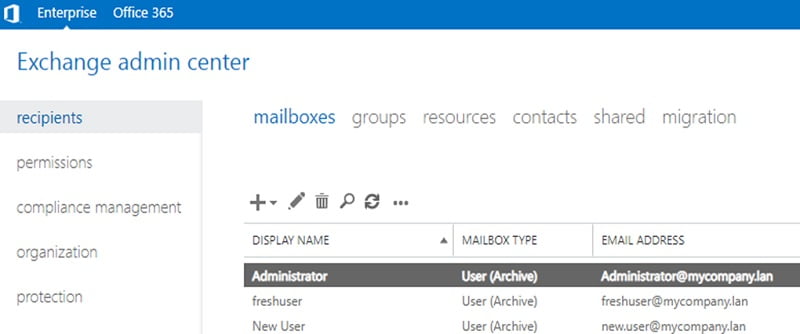
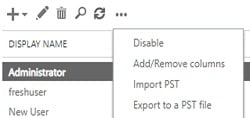
Click on the more options and then click on Export to PST.
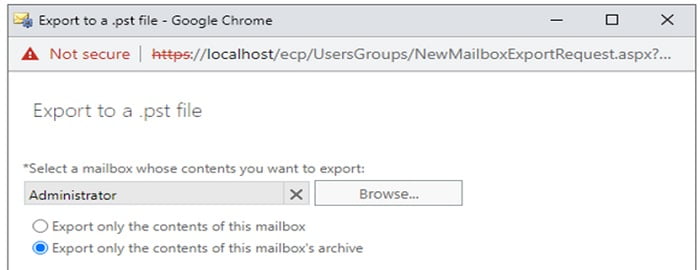
Tick the Export only the contents of this mailbox’s archive checkbox and click Next.
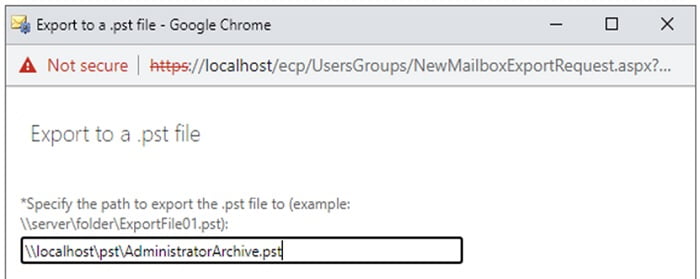
Enter the network path to export to, including the filename and click Next.
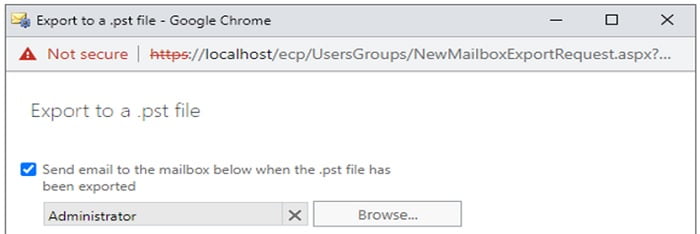
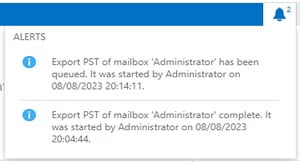
Enable the option to receive email once the export is complete. Otherwise, you will be notified in the Admin Center when the task is complete. When ready, click on Finish.
You will see the progress. Once done, you will be notified accordingly.
2. Using Outlook
You can also use Outlook to export the archive mailbox to PST. Here are the steps:
- Open the Outlook application, click on File, and then select Open & Export > Import/Export.
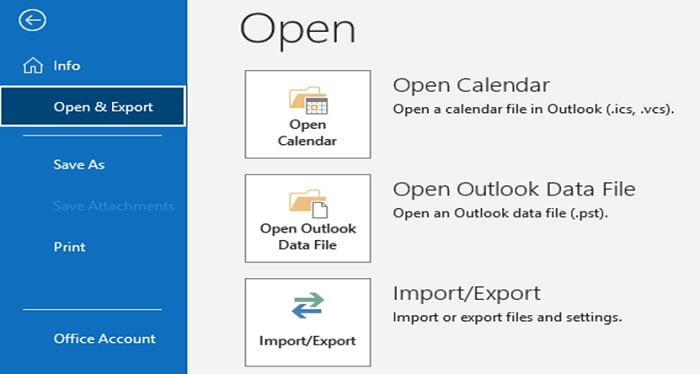
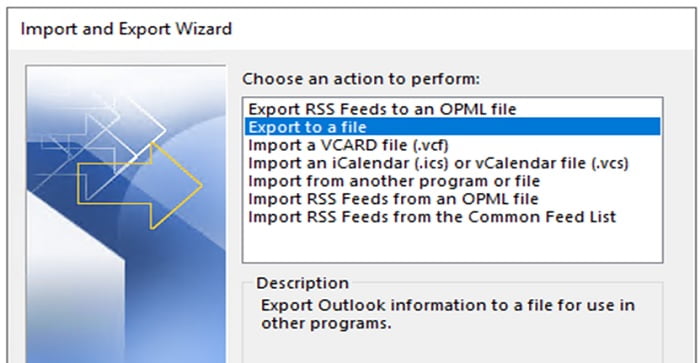
- Click on Export to a file and click Next.
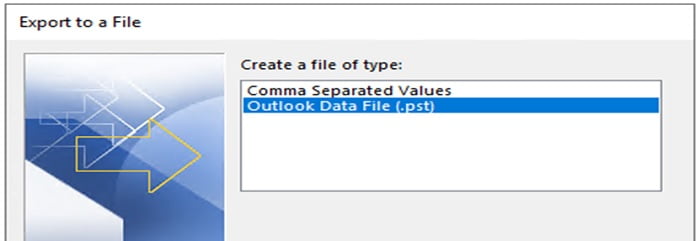
- Select Outlook Data File (.pst) and click Next.
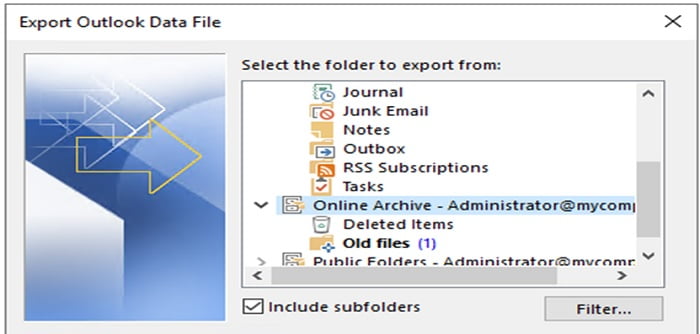
- Select Online Archive, tick Include Subfolders, and click Next.
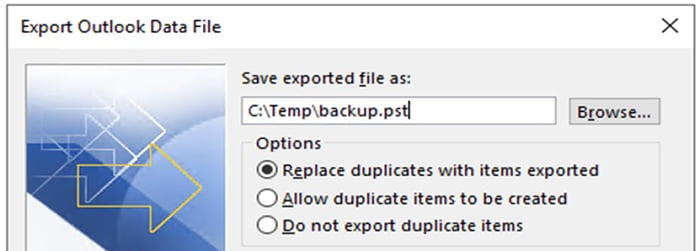
- Select the path and file name to export to. If the file already exists or your previous export has been interrupted, you can choose to replace, allow duplicates, or do not export duplicates.
- Once ready, click Finish.
3. Using Stellar Converter for EDB
For smooth and easy process, you can use a third-party EDB to PST converter application, like Stellar Converter for EDB. This application can help you export archive mailboxes, user mailboxes, and other items from EDB to PST in just a few clicks. Follow these steps:
- Open the application and select either a live Exchange Server database or Offline EDB file (if you have an orphaned database). Select the required EDB file and click Next.

- After a quick scan, you will be presented with the entire structure of the database where you can pick and choose what to export.
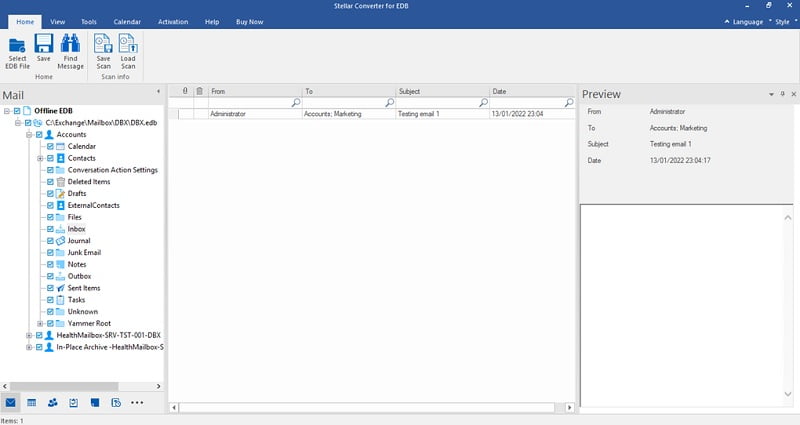
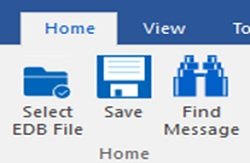
- Once you’ve selected the items, you can click on the Save button to choose the export option.
You can export to the following:
- Live Exchange Server
- Office 365 tenant
- PST
- Public Folder
- Other formats, such as HTML, EML, MSG, and PDF
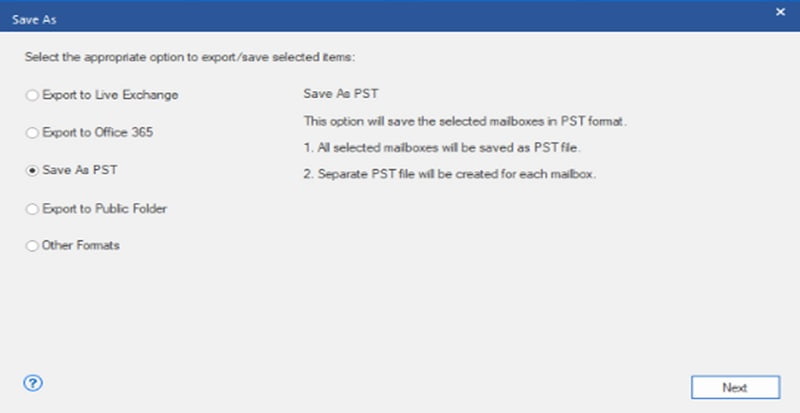
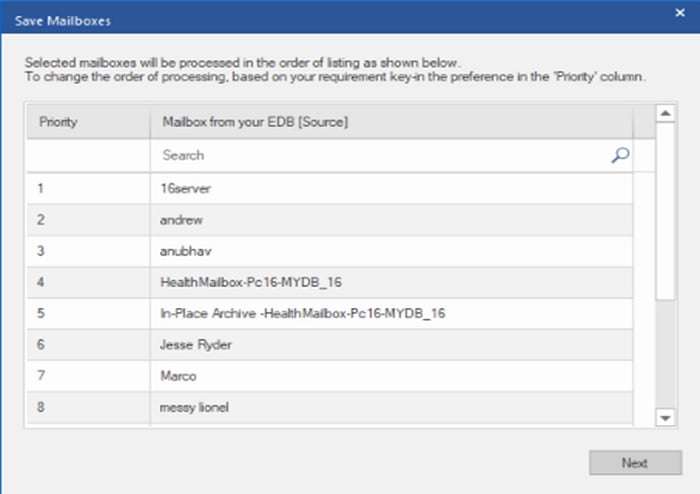
If you’re exporting to PST, review the priority of the mailboxes. For exporting to Office 365 or live Exchange Server database, you need to review the automatic mailbox mapping or manually update it.
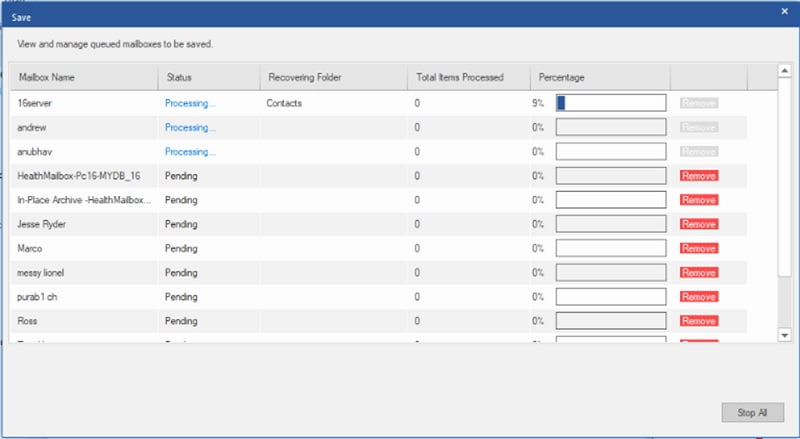
- Once ready, click Next. It will start the export of mailboxes.
Comparing the Export Methods
Let’s see the downsides and benefits of the above methods.
Using Outlook
The users can export the mailbox themselves and it’s free. The downside of this method is that you need to gather the PST file at a centralized location, check them, verify that the right data is exported, and the files are valid. This requires administrative effort. Apart from that, during the process, Outlook can become unresponsive. There is no continuation if the export is interrupted.
Using Exchange PowerShell
With this method, the process is easier and less error prone. However, you cannot be selective in the export. You can make use of loops and scripts to export more than one mailbox at once, but it could hinder the performance of the server. Apart from this, this method can only export mailboxes to PST, and not public folders.
Using Exchange Admin Center
This method has the same features as the PowerShell method, but you can only export one mailbox at a time.
Using Stellar Converter for EDB
By using Stellar Converter for EDB application, the process of export is simpler, faster, and more secure than the other methods. You can export from live and offline databases from any version of Exchange Server with no size limit. It’s ideal for migration as you can export directly to a live environment. You can also continue the process if interrupted. Apart from that, you can process user mailboxes, shared mailboxes, user archives, disabled mailboxes, and even public folders.
Conclusion
You can use any of the above methods to export archive mailboxes from the Exchange Server to PST. One thing to consider when exporting data to PST is that PST format is an exportable file which can be attached to any Outlook. For security purposes, you need to password protect the files to prevent access to any unauthorized person. When using PST files, it is recommended that these are opened from the local computer. Opening a PST file from a network storage may result in corruption.
Continue Reading:
Understanding the Types of File Extensions
Can you convert PDF to editable file?
ABOUT THE AUTHOR
IPwithease is aimed at sharing knowledge across varied domains like Network, Security, Virtualization, Software, Wireless, etc.


